Seeing the Invisible
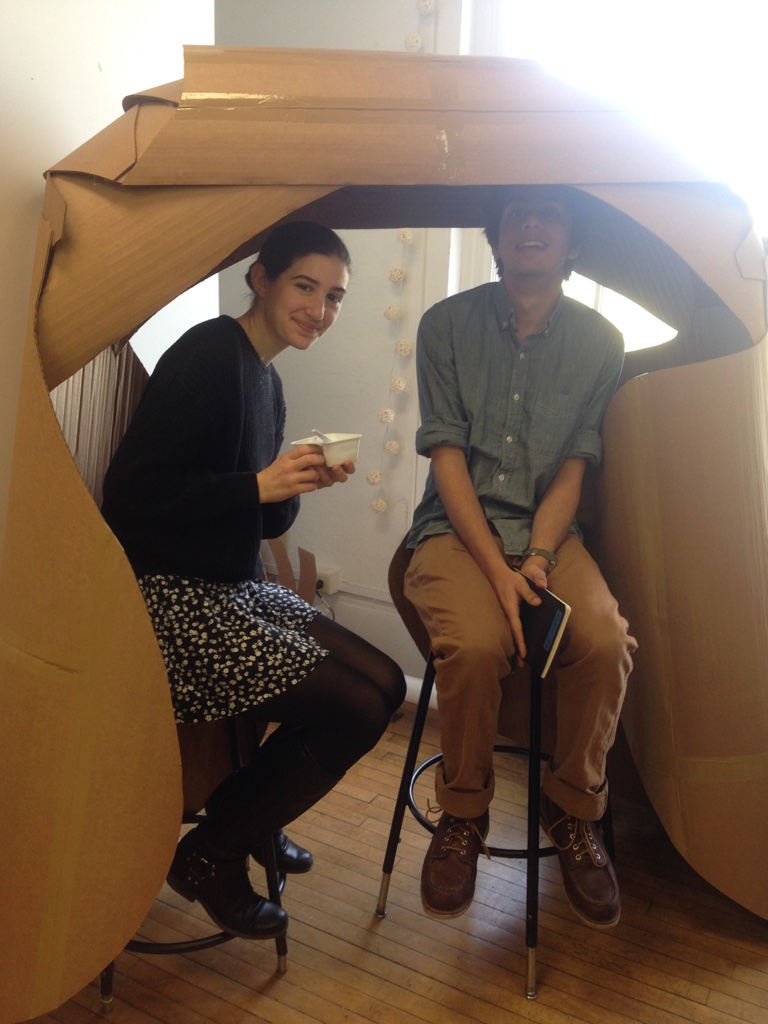
Seeing the Invisible explores the concept of scale, within the context of objects relating to people in space. Task one involved building our own microscope machines using our phone cameras and small lenses. Task two was to take pictures of very small things using our microscope machines. Task three was to build a 1 to 1 scale model of one of the photographed objects; I chose a safety pin head. Task four was to make a hand held scale model of the object. Task five was to make a 100 to 1 scale model of the object. The final task was to render the model at 1000 to 1 scale using Photoshop.
Skills
Physical prototyping + Scale Modeling + 3D printing + Photography + Rendering + Visualizations + SketchUp + Photoshop + Cardboard + Paper
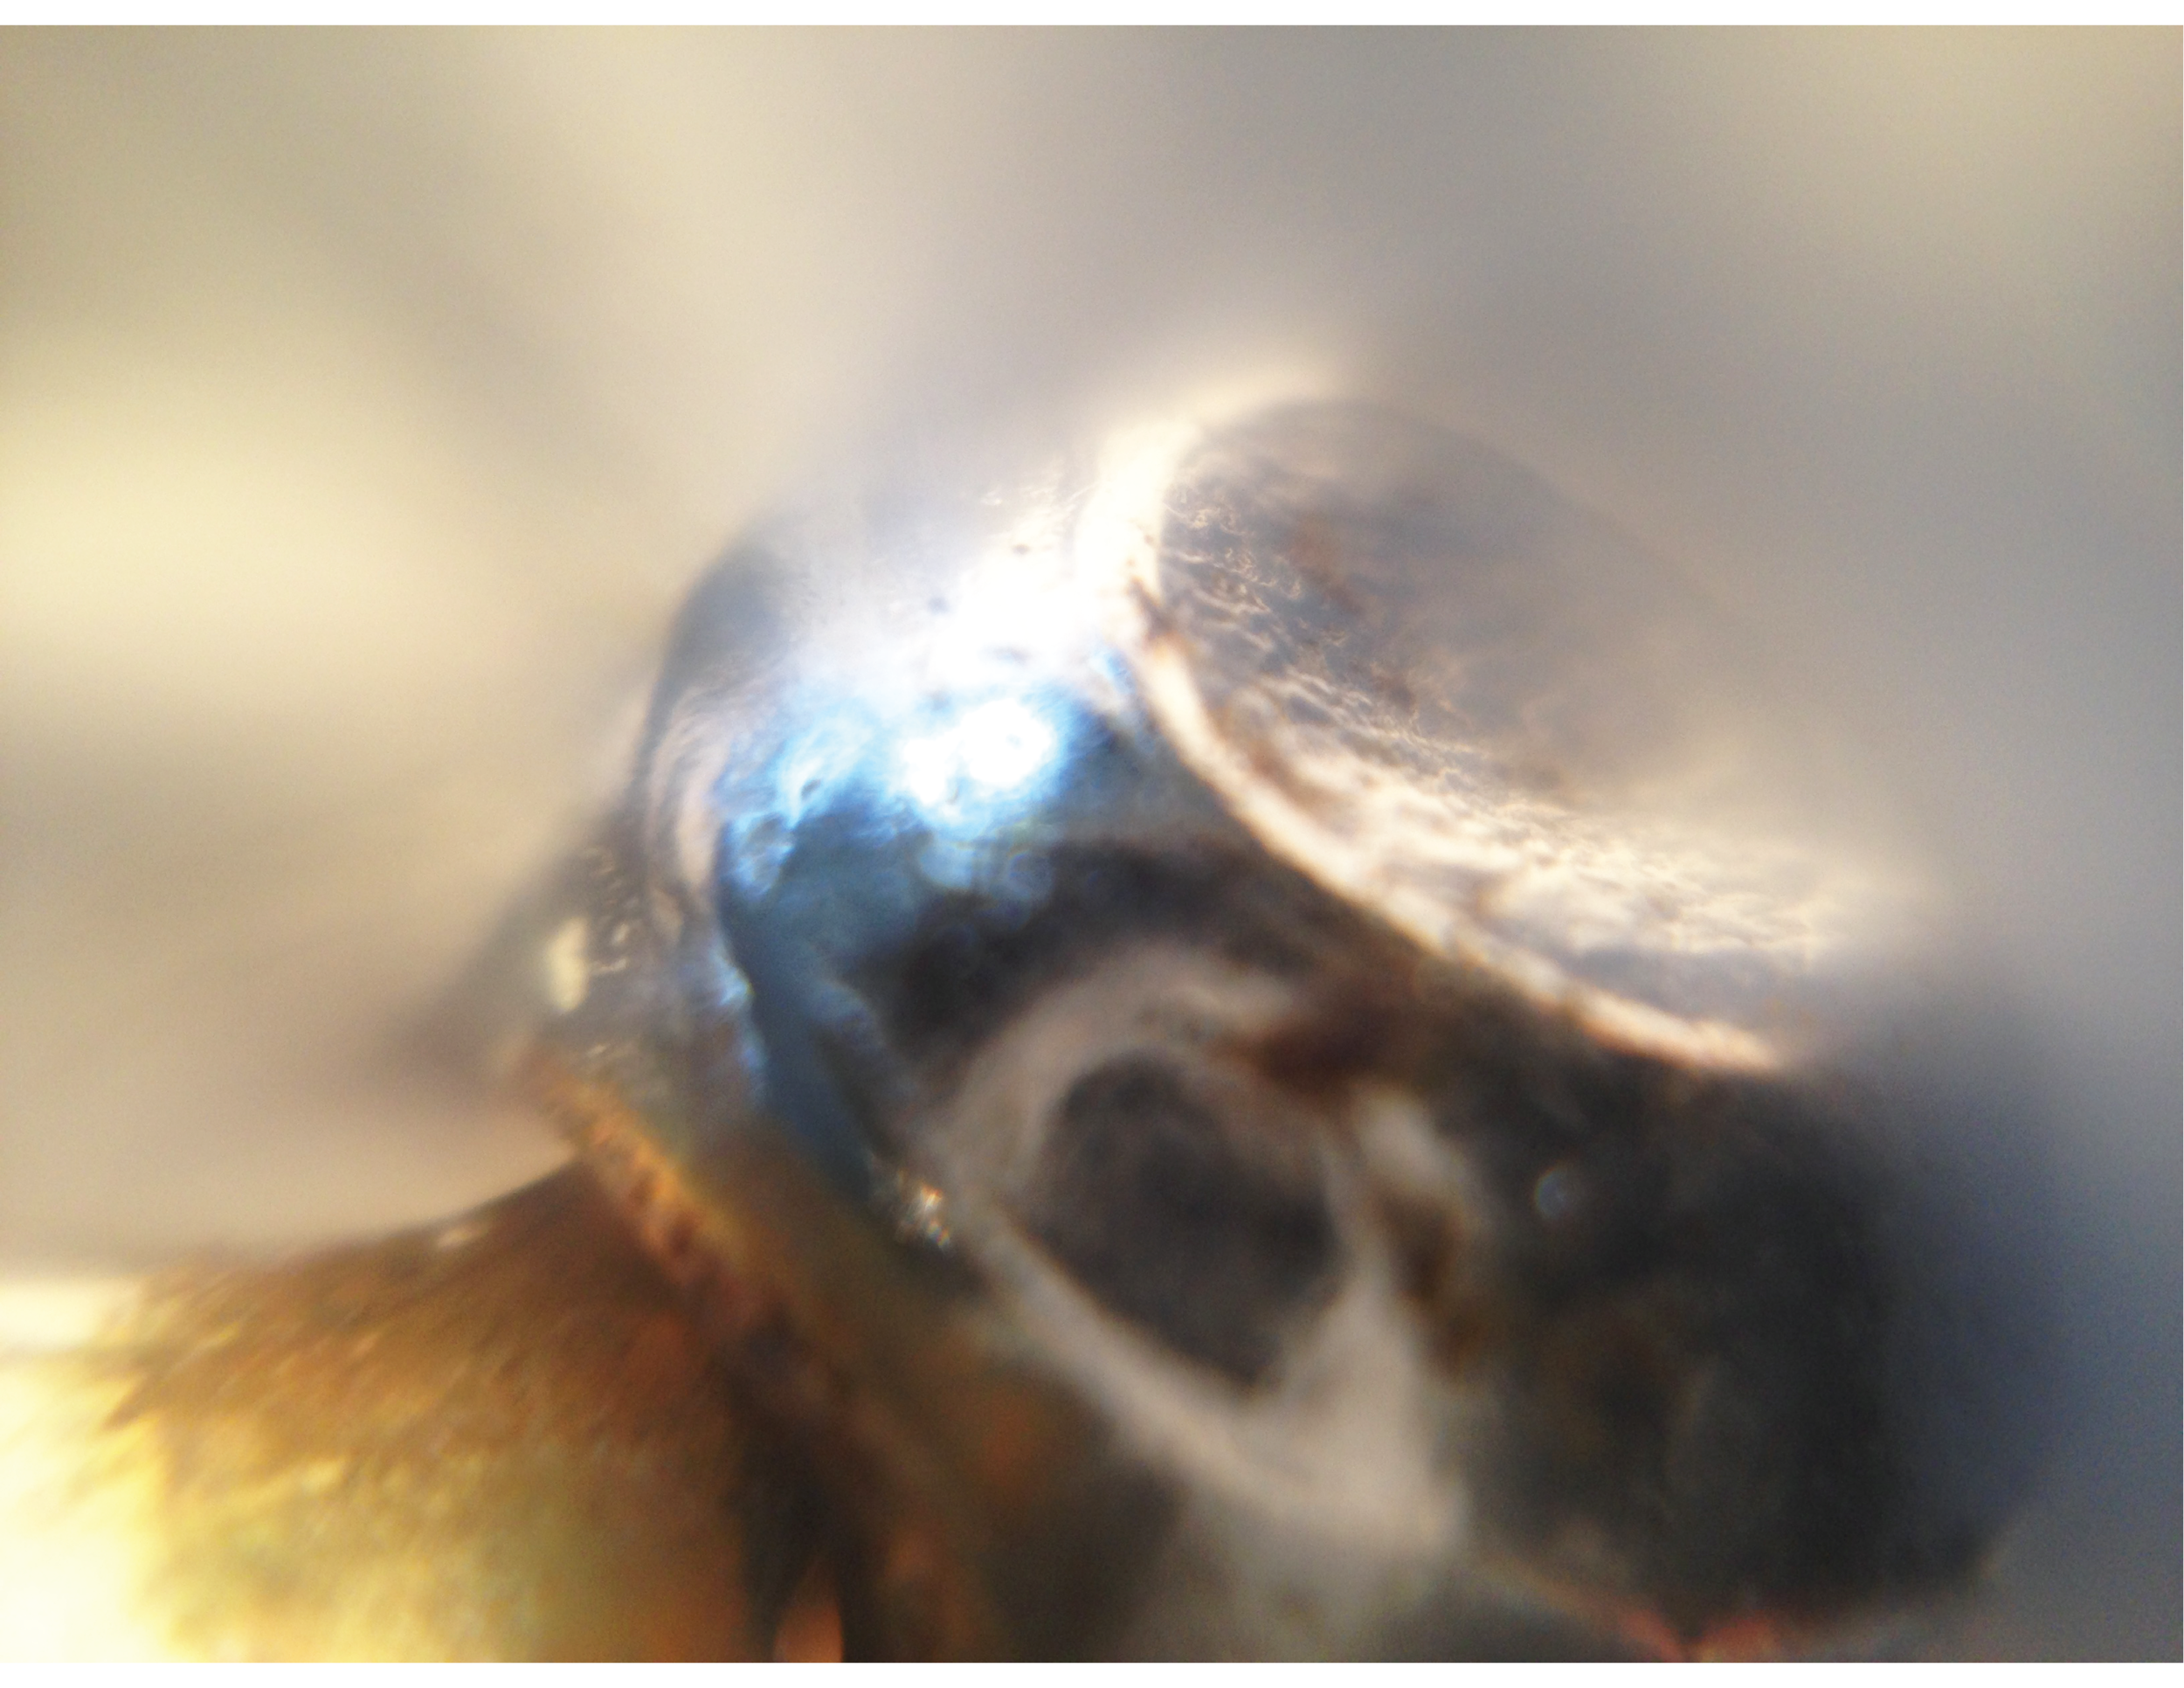
Microscopic photo of earring hoop (taken with iPhone 5).
Phase 1: Building a Microscope to Look at Small Things
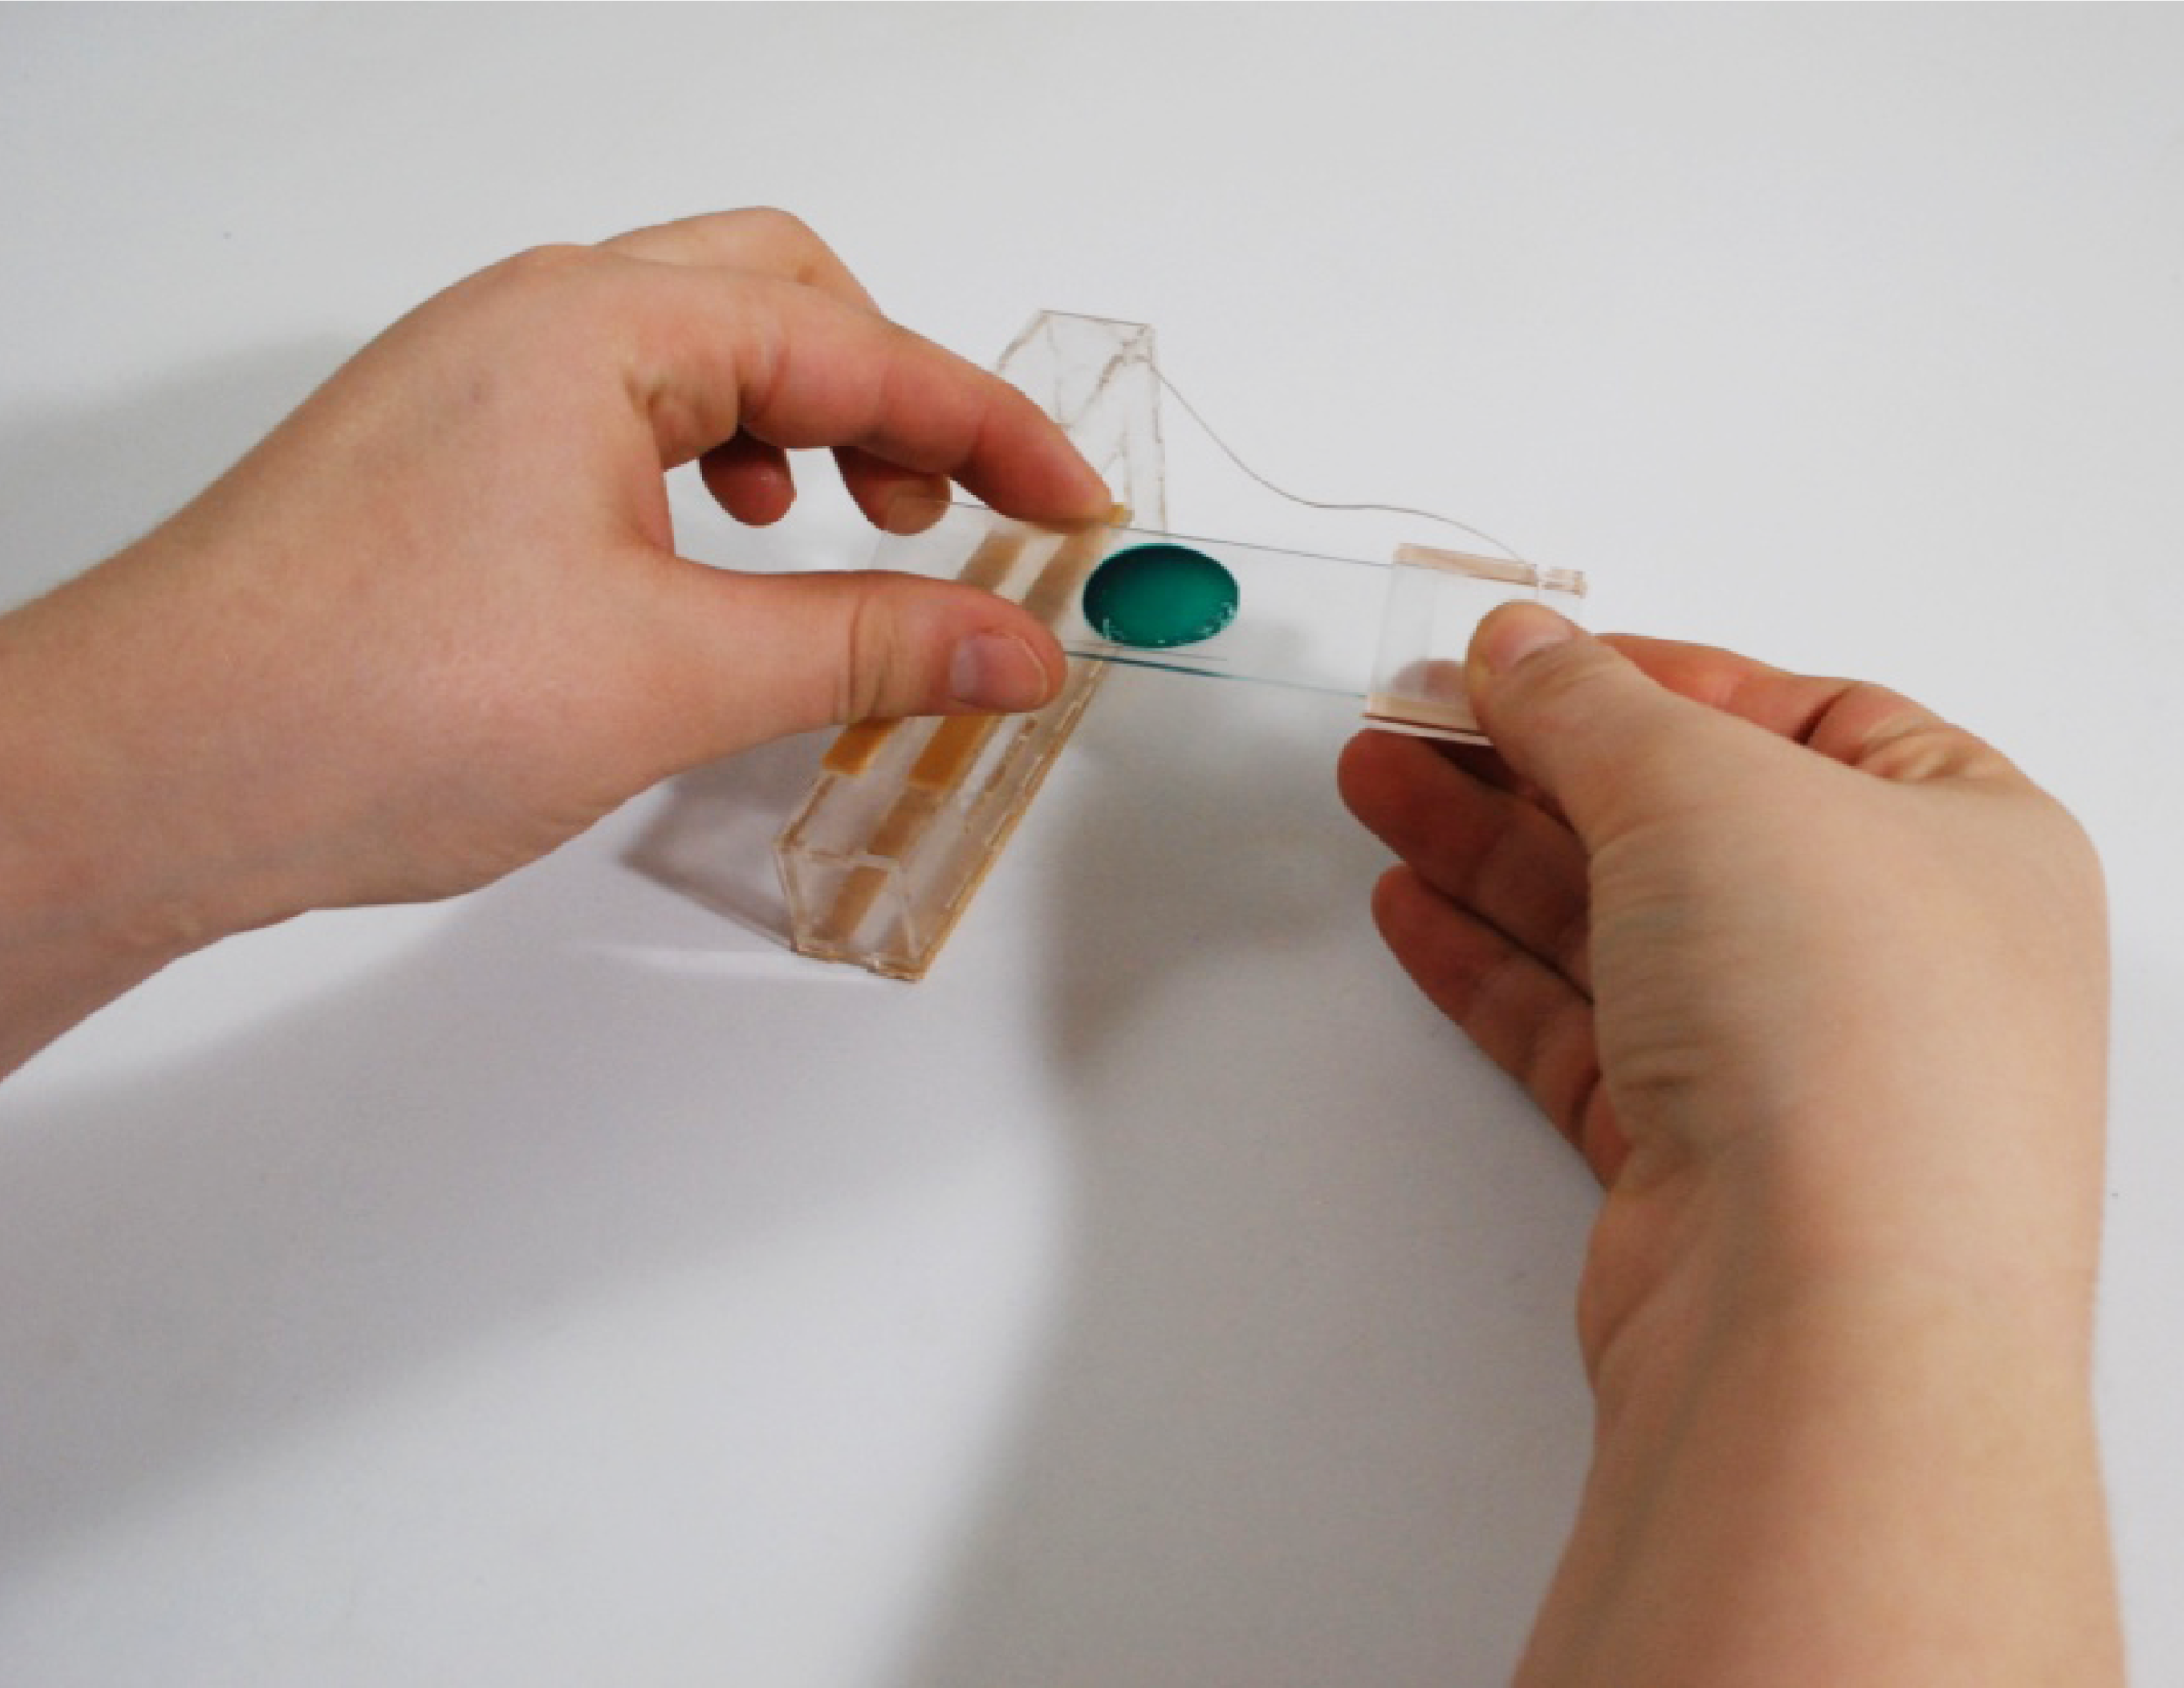
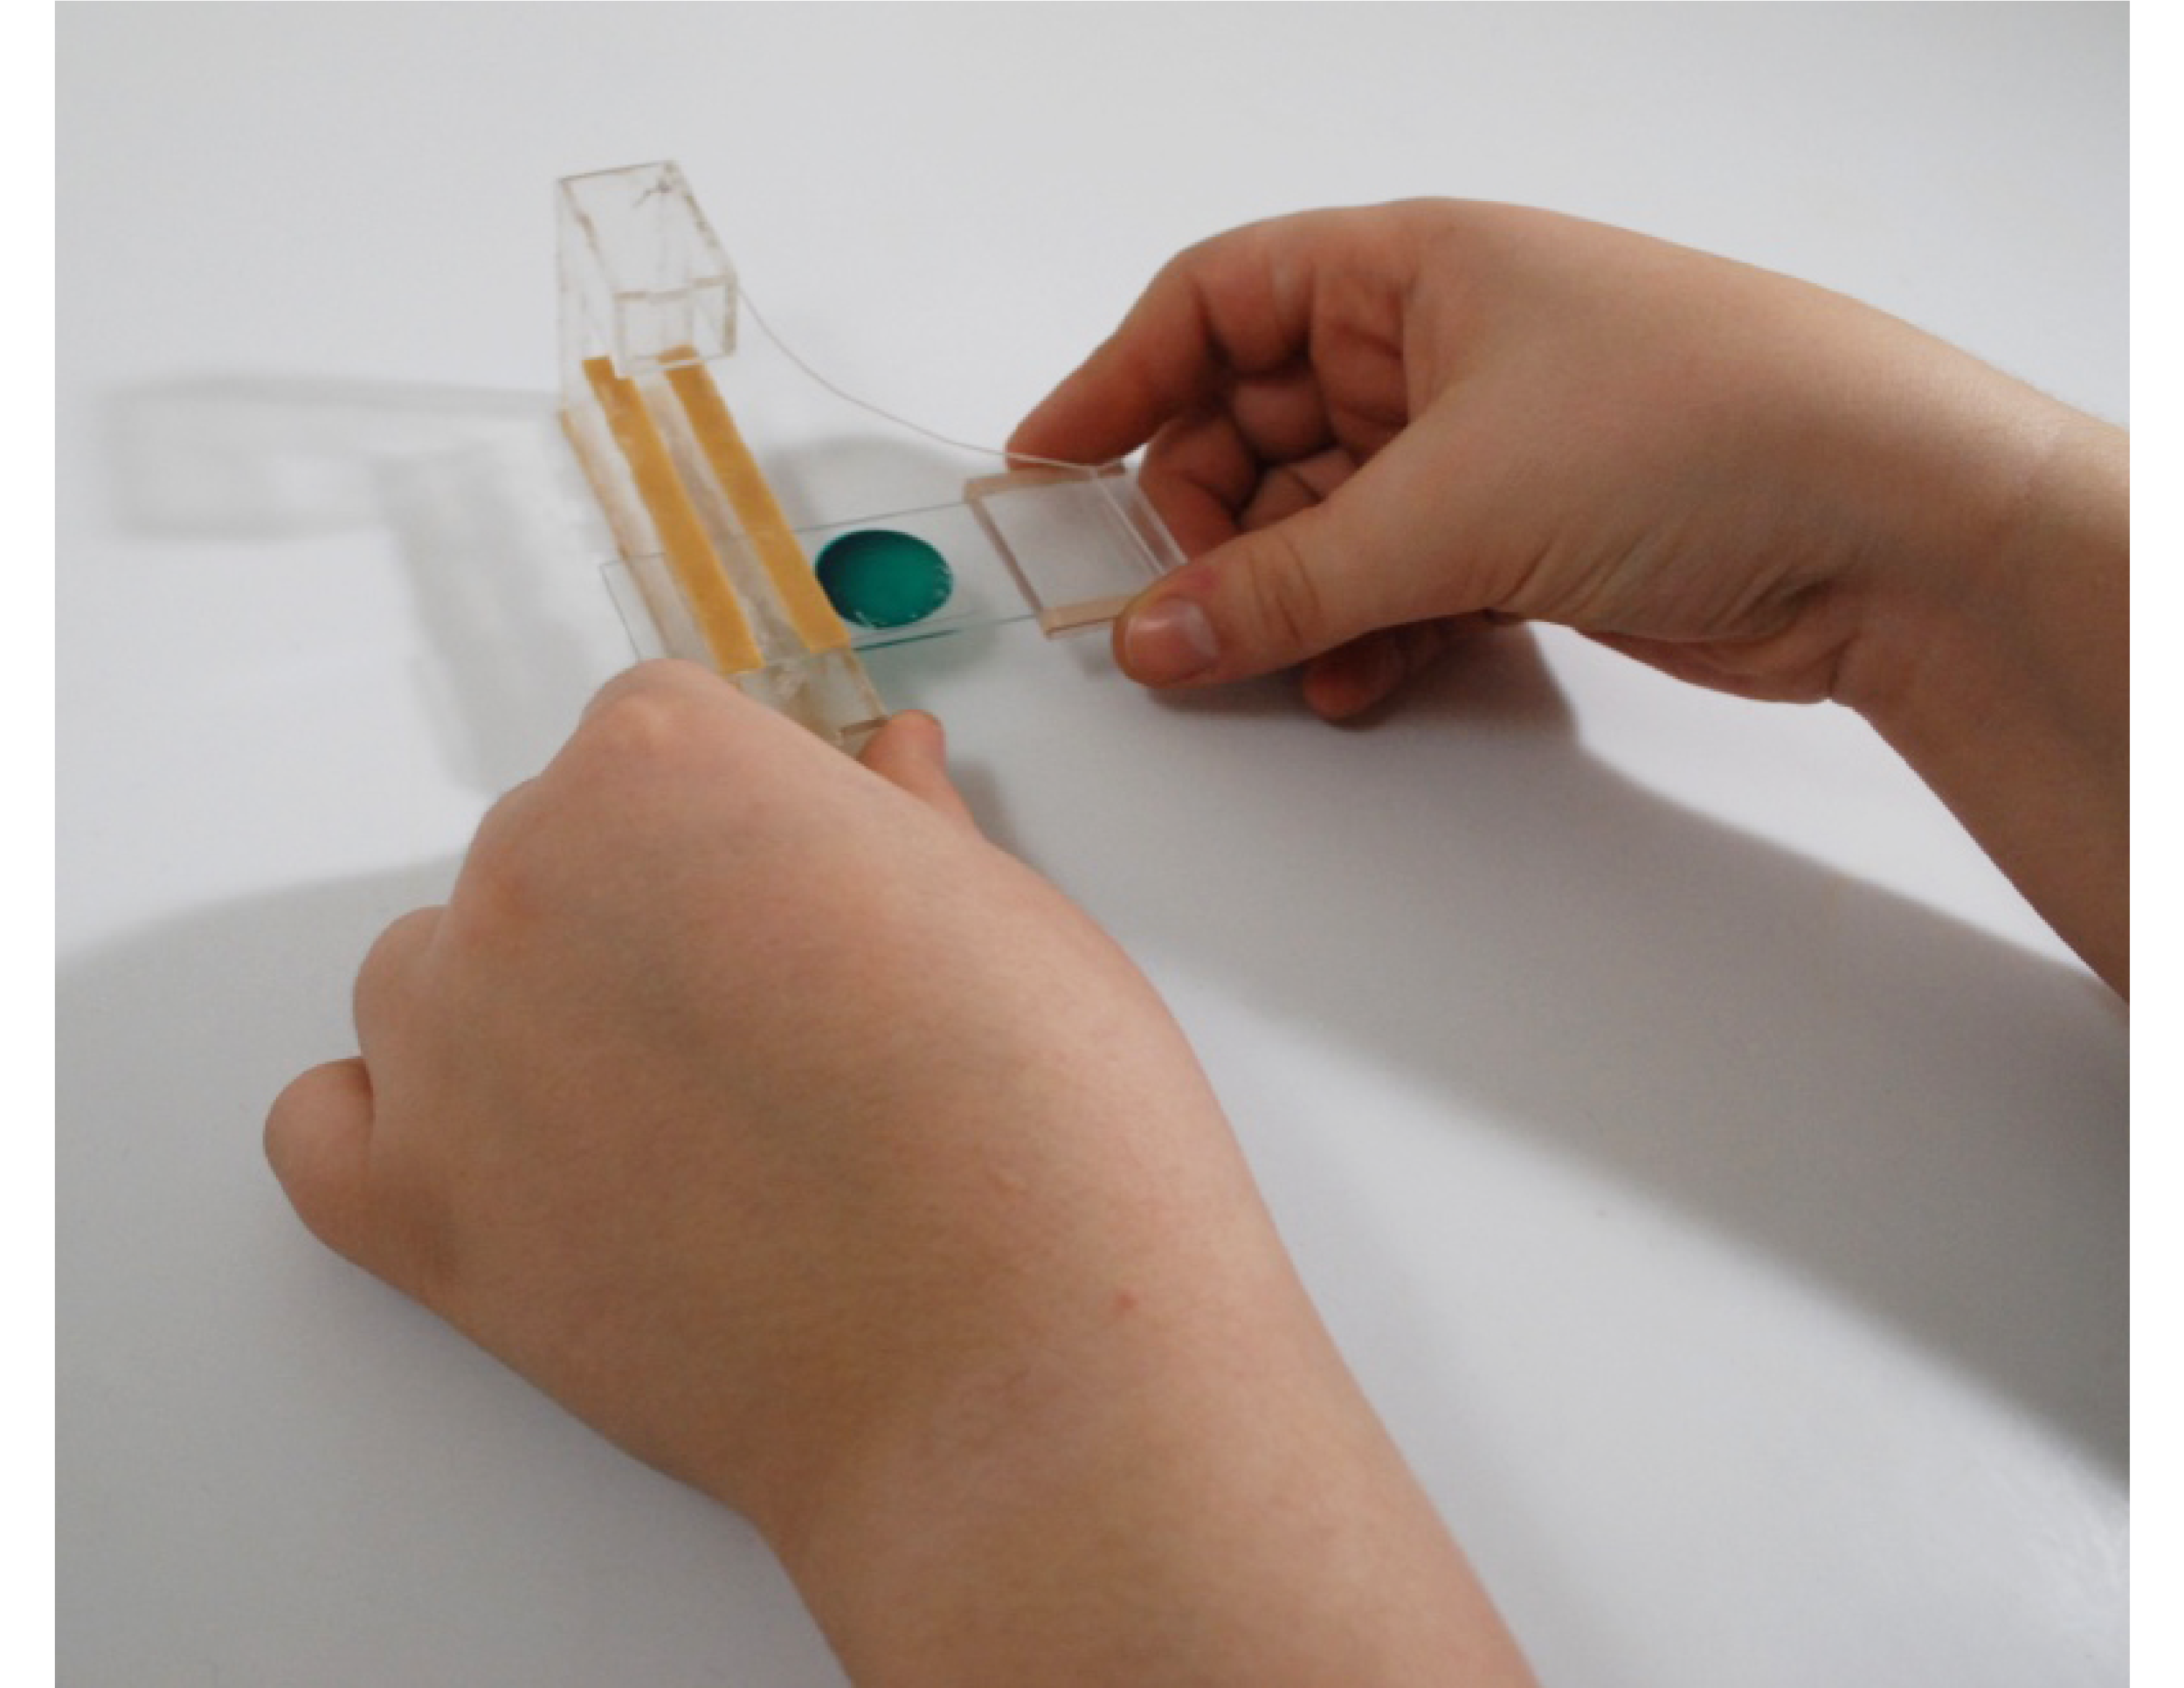
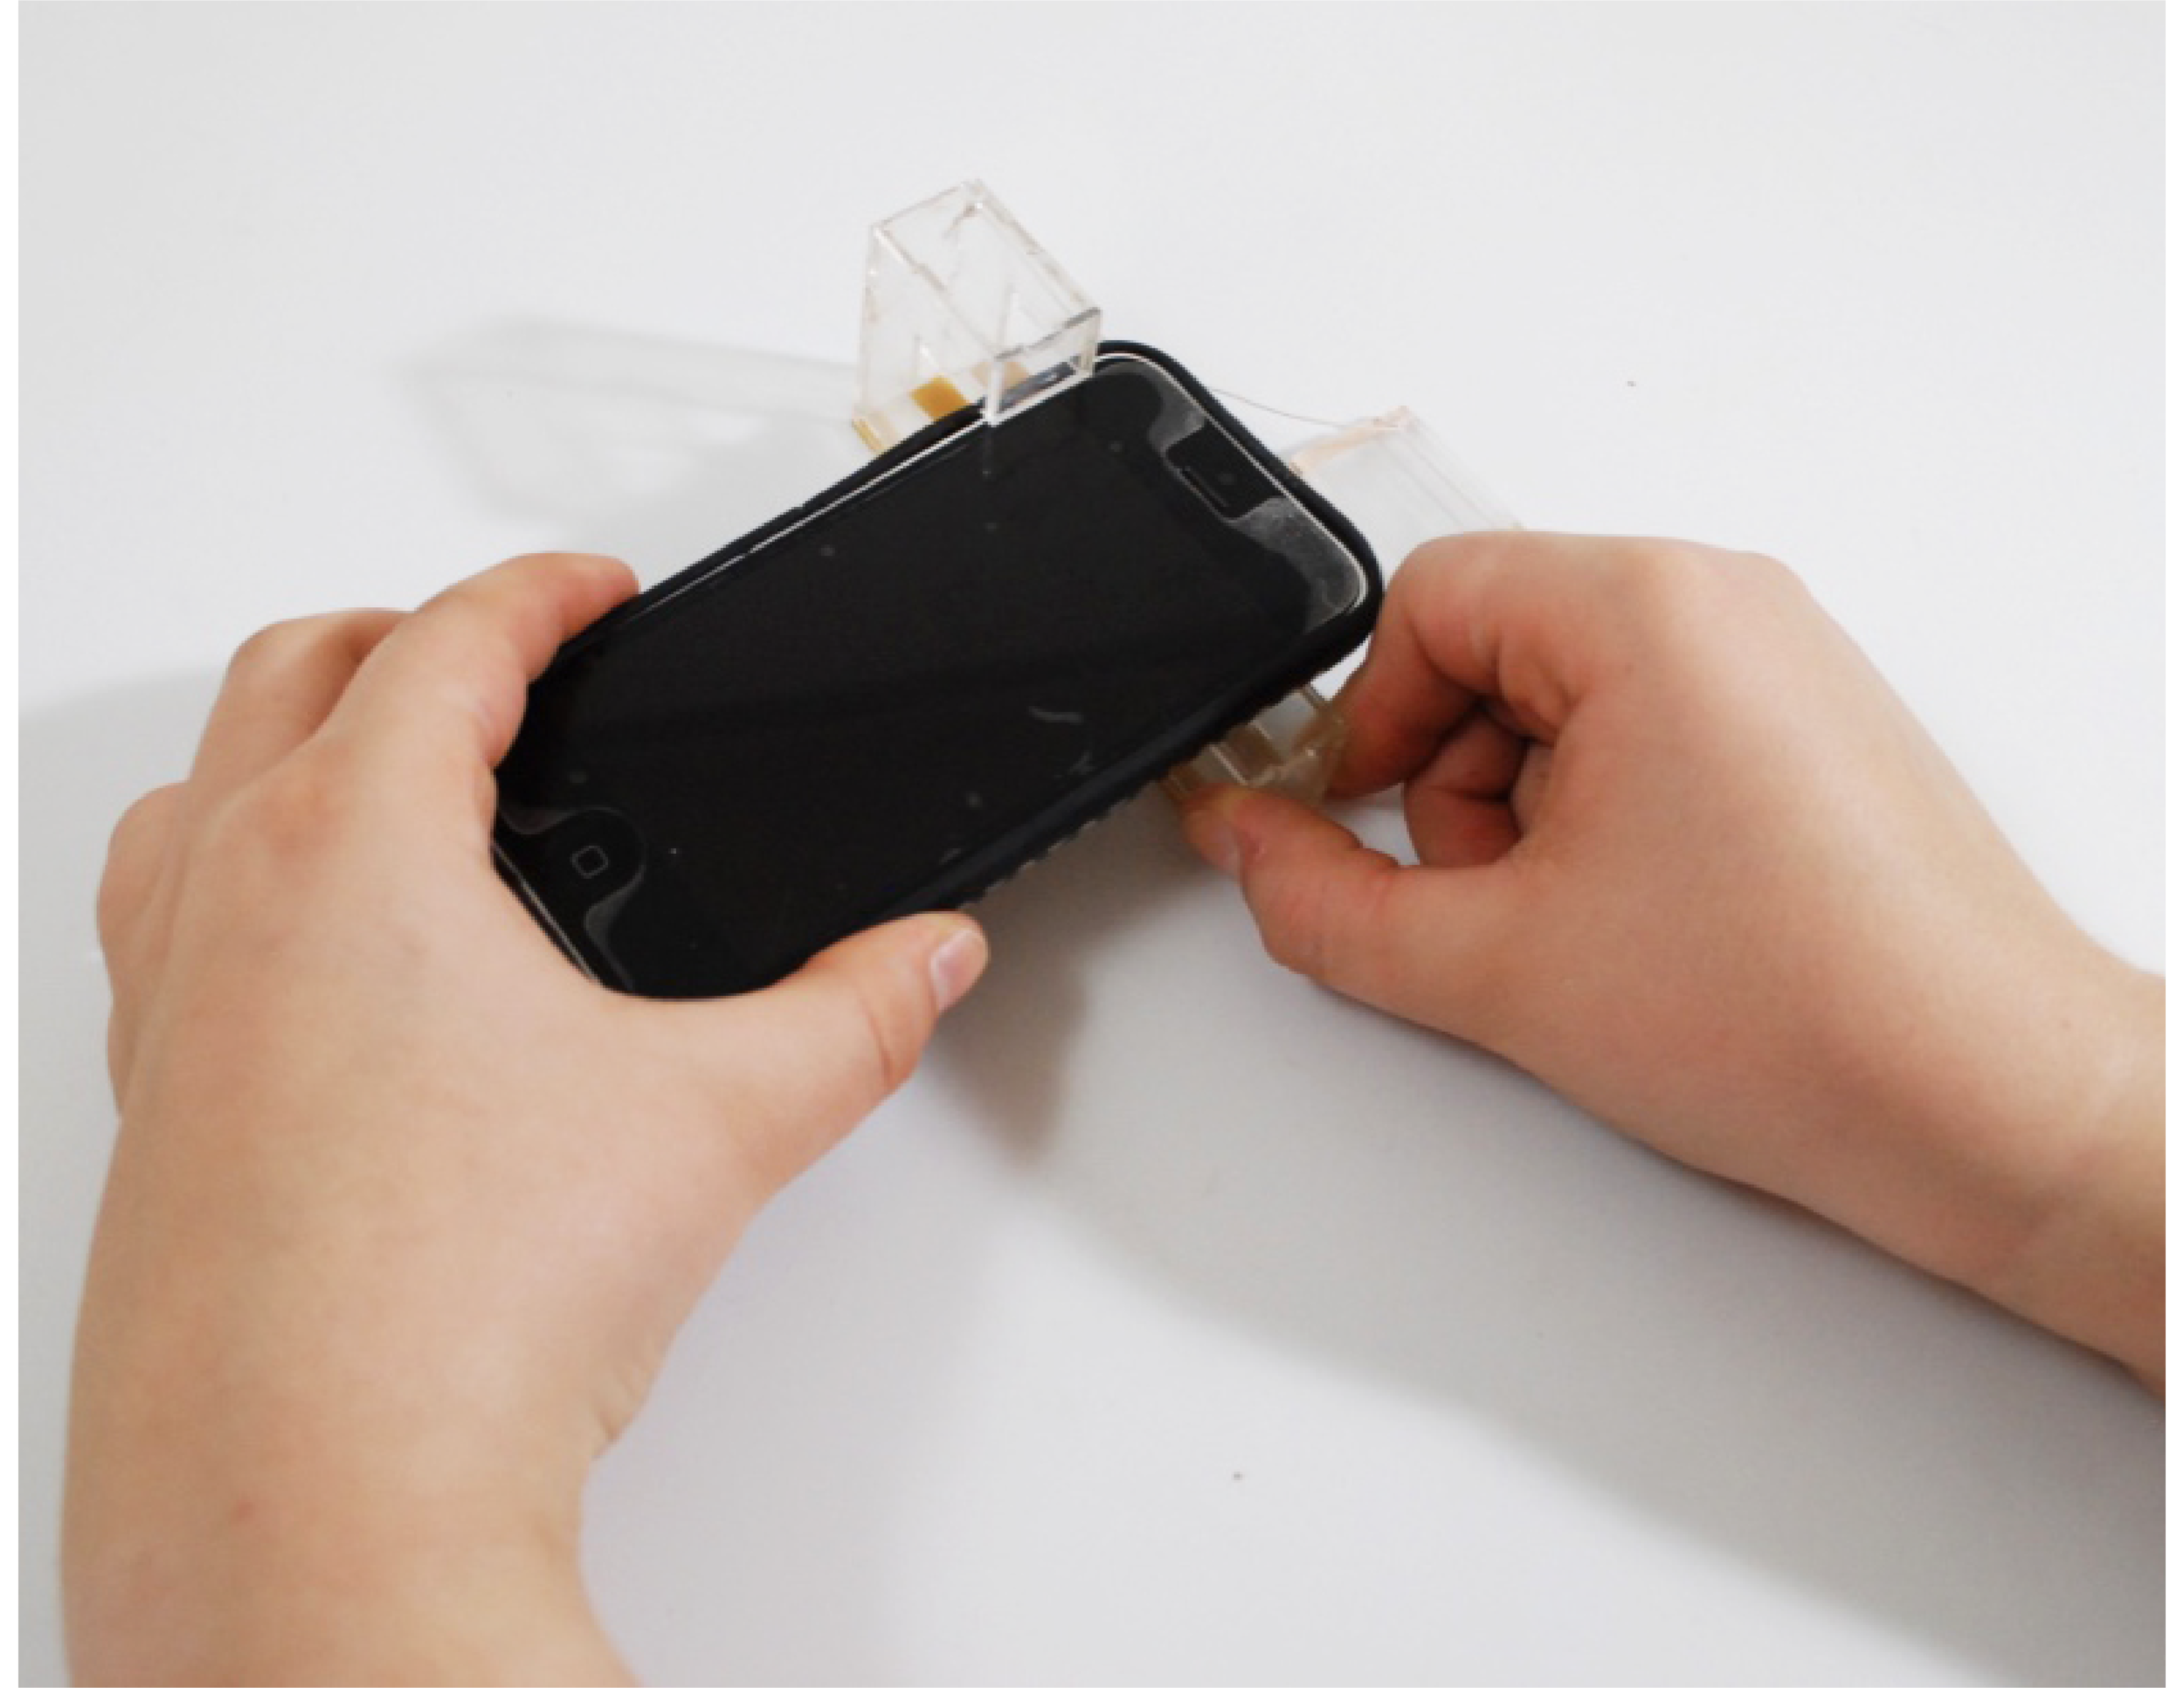
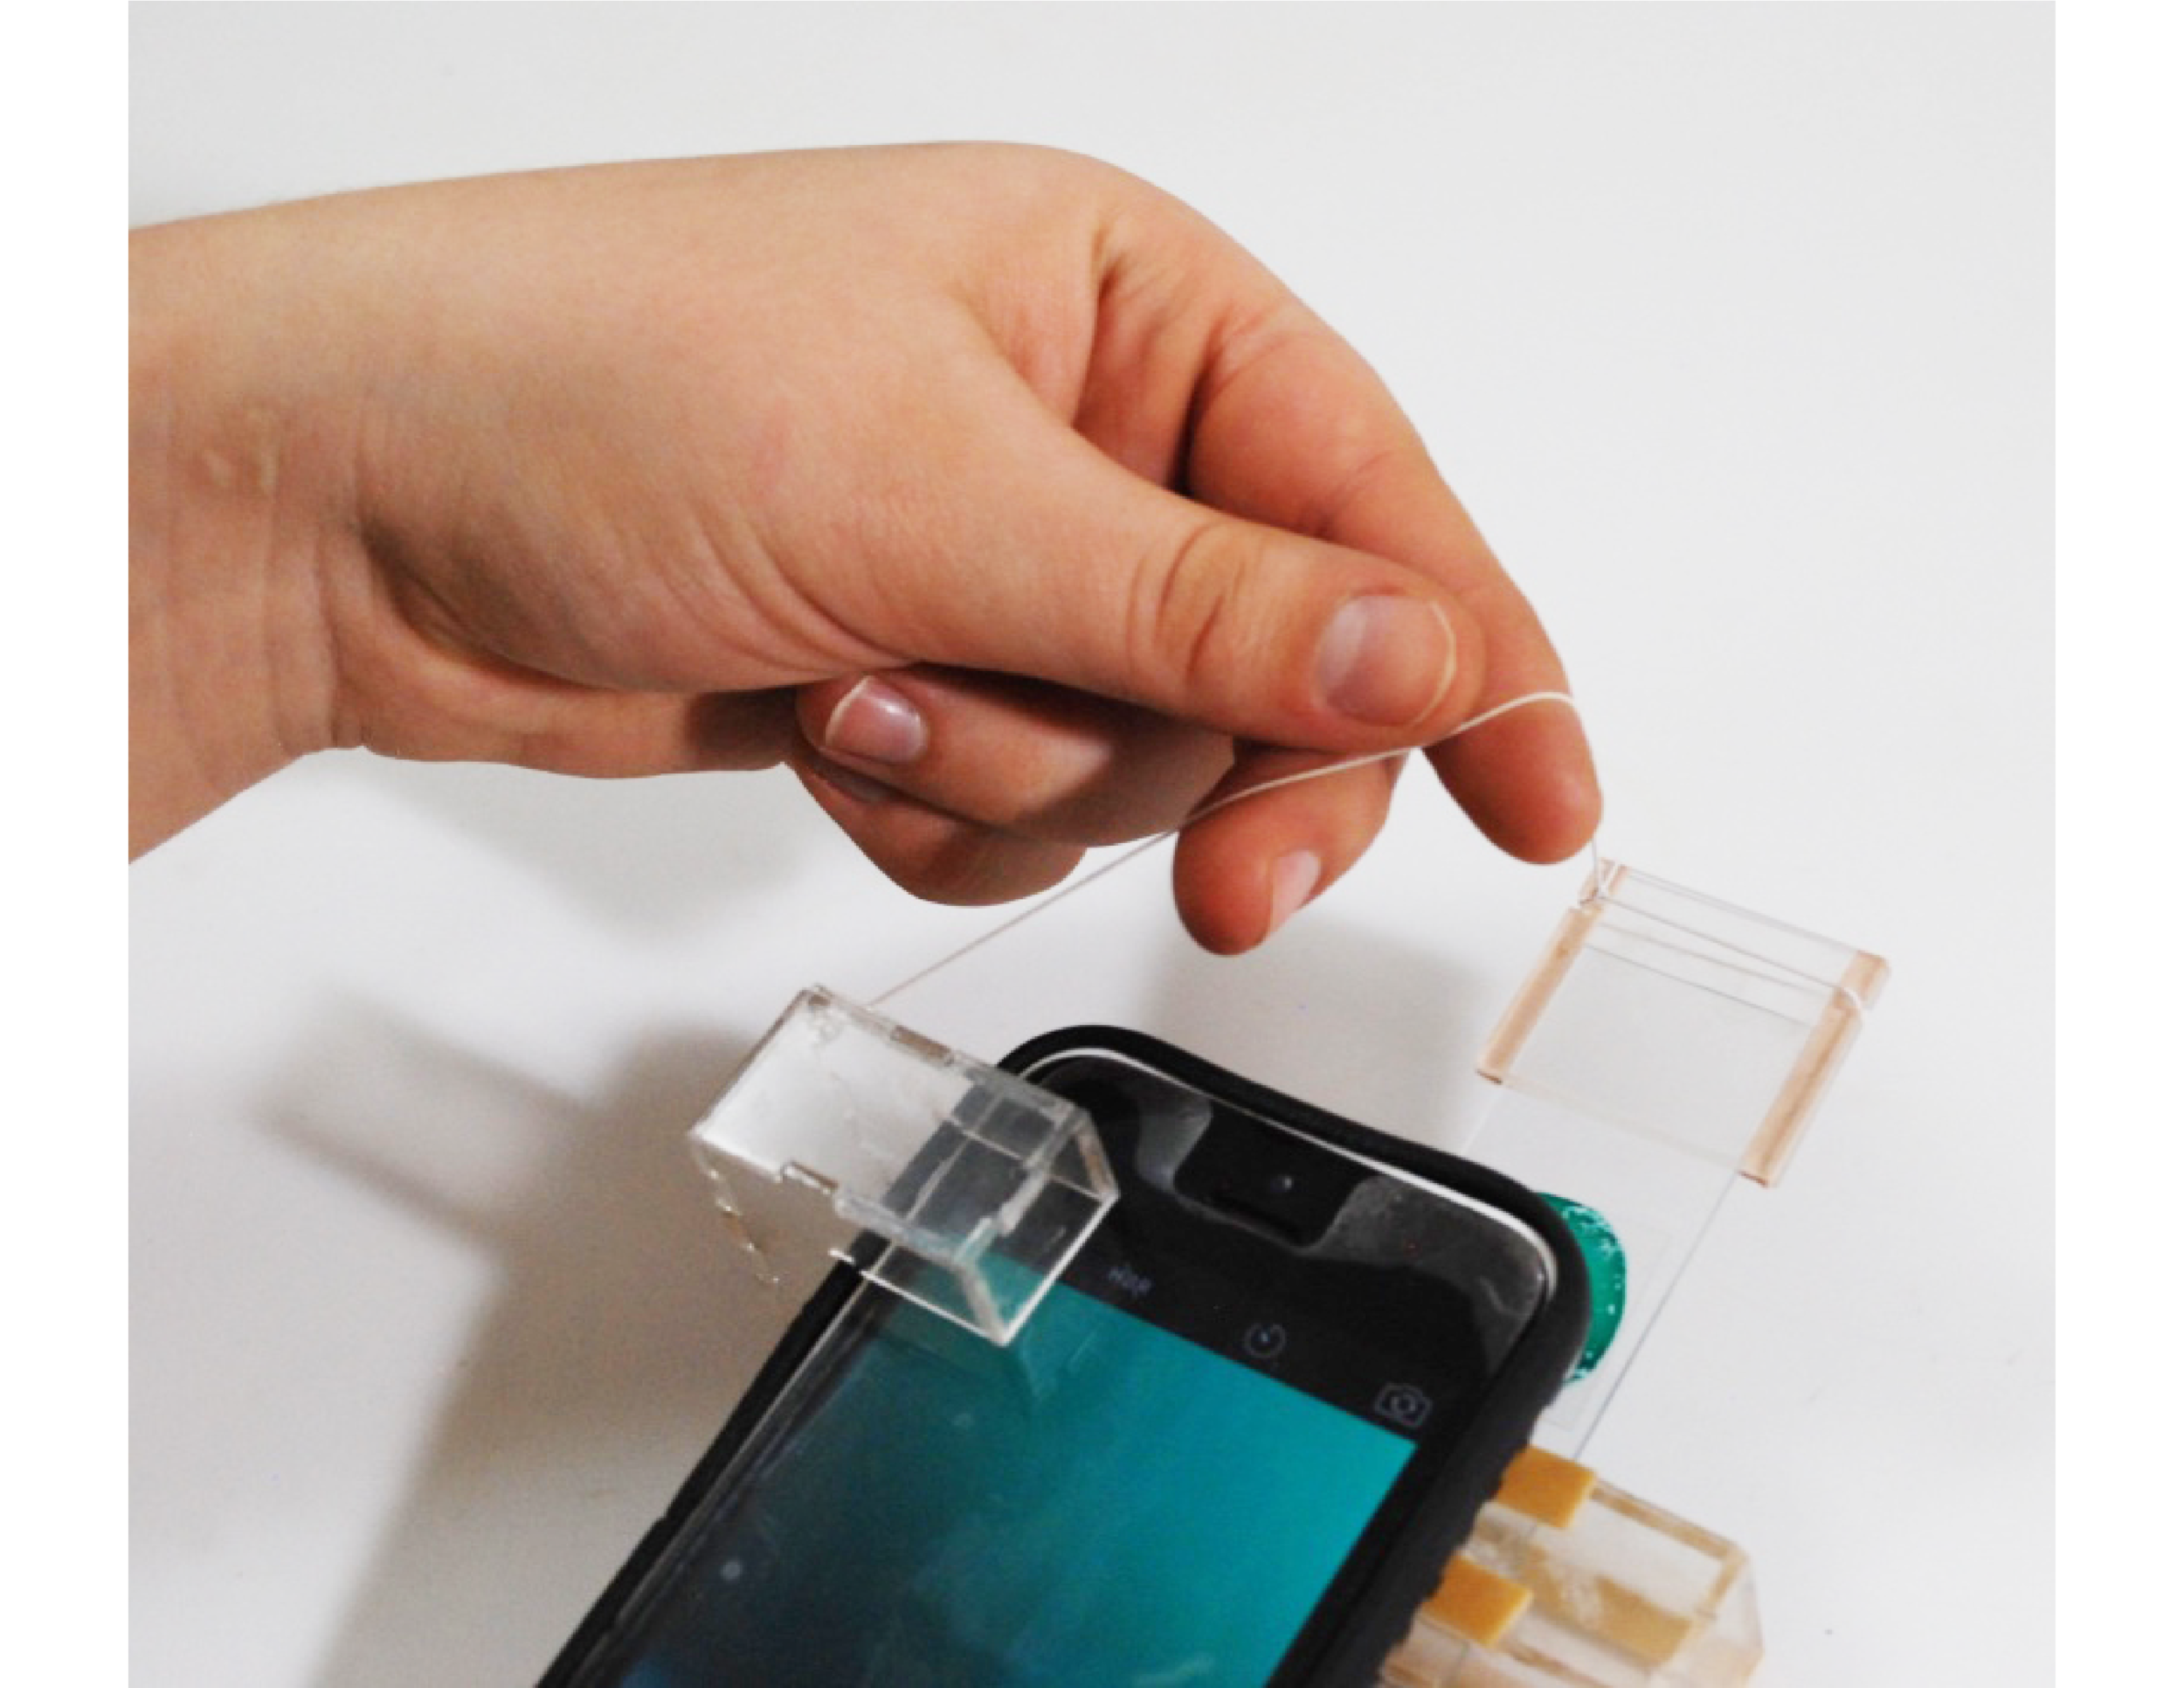
In order to “see the invisible,” we each created our own microscope machines using our cell phones and a small magnifying lens, which we placed over our phone camera lens. Since manually holding the phone while trying to view small objects wasn’t precise and caused blurry images to be taken, we had to find a way to stabilize the phone and develop a mechanism that allows the user to view the object from various small distances. Assembly of the microscope machine involves four steps (shown below).
Phase 2: Observing and Photographing Small Things Under the Microscope
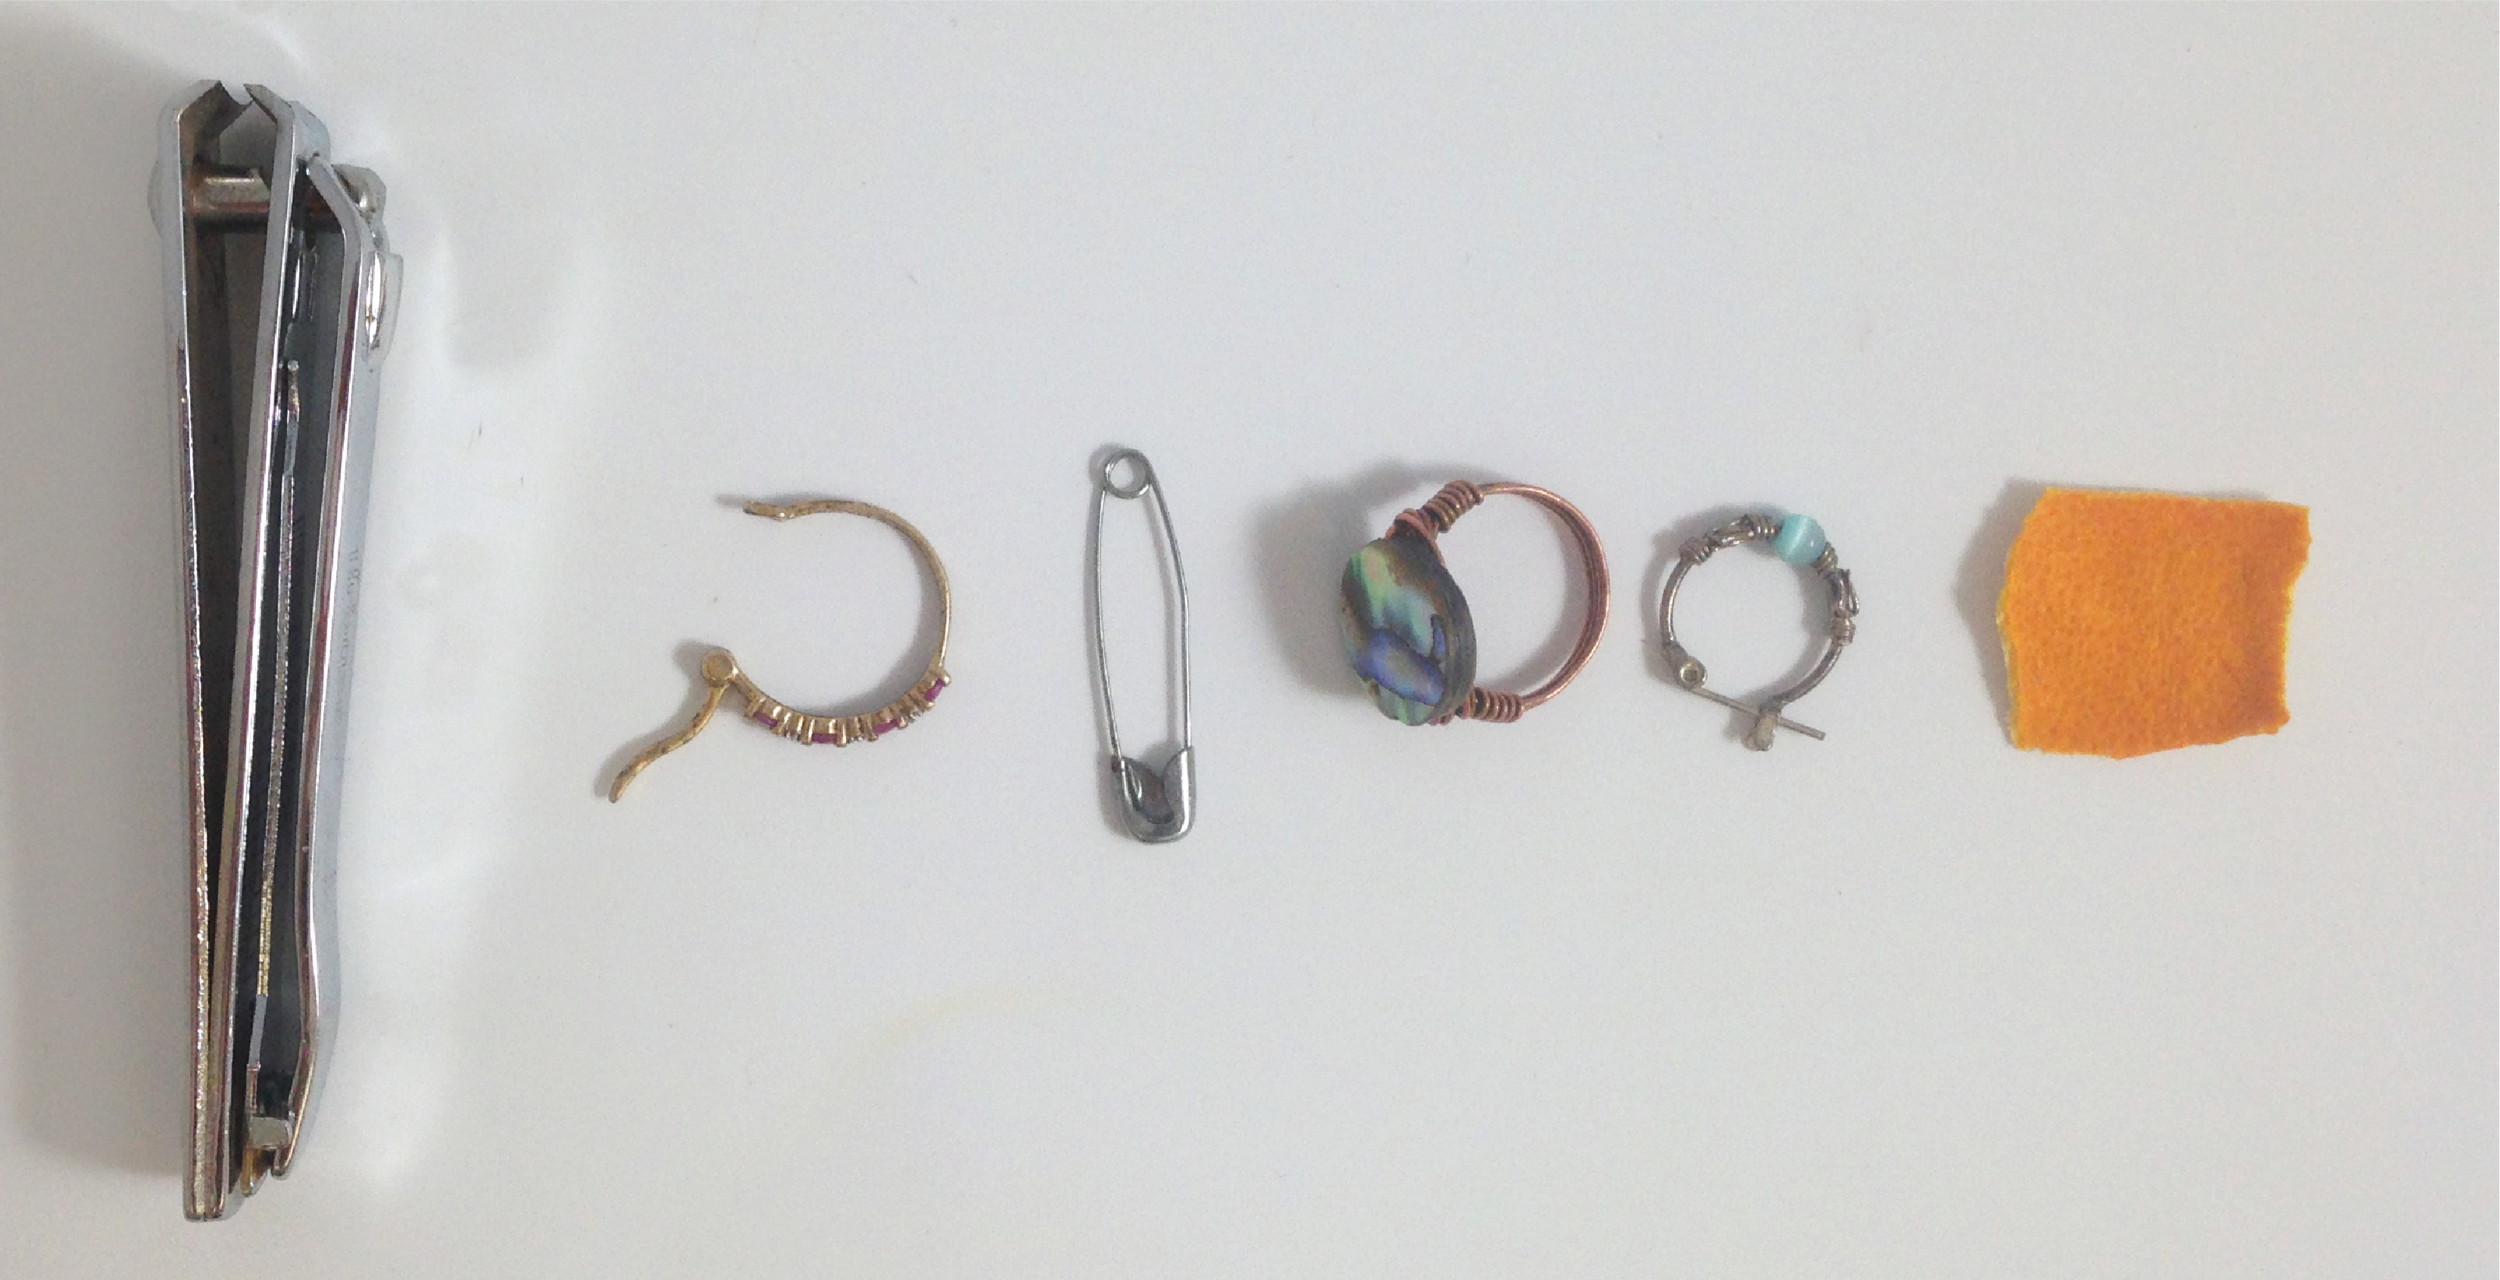
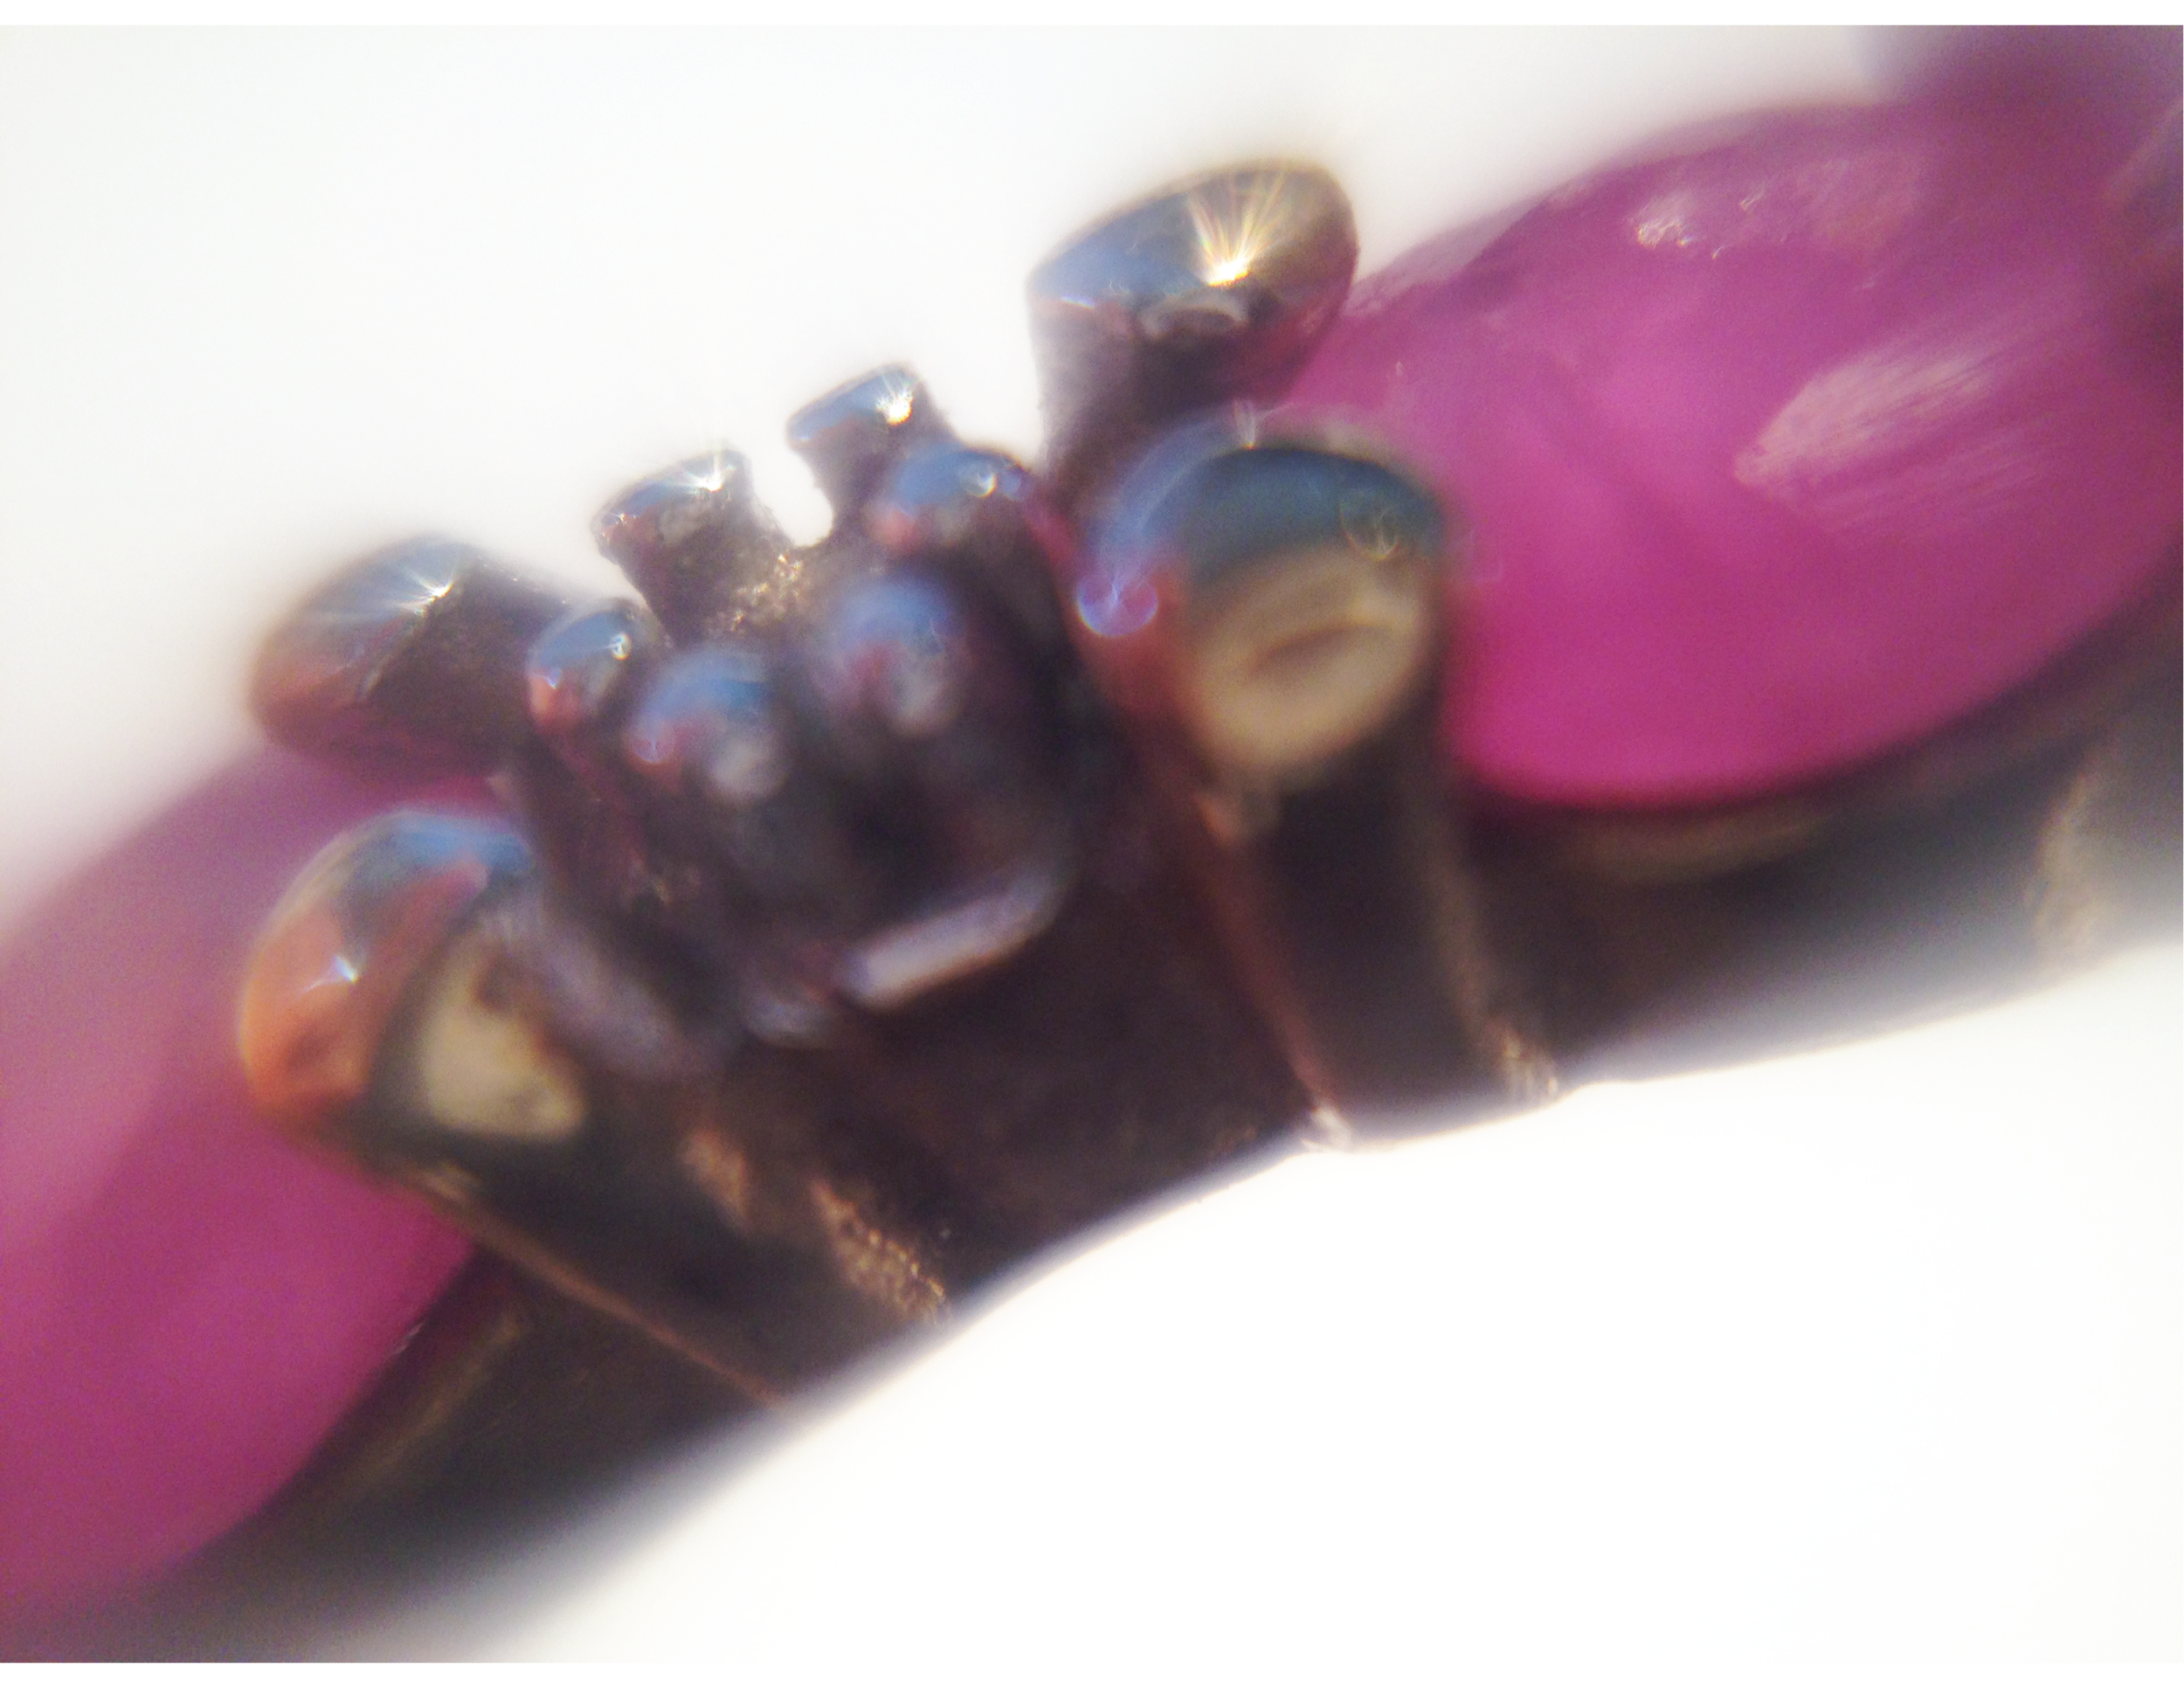
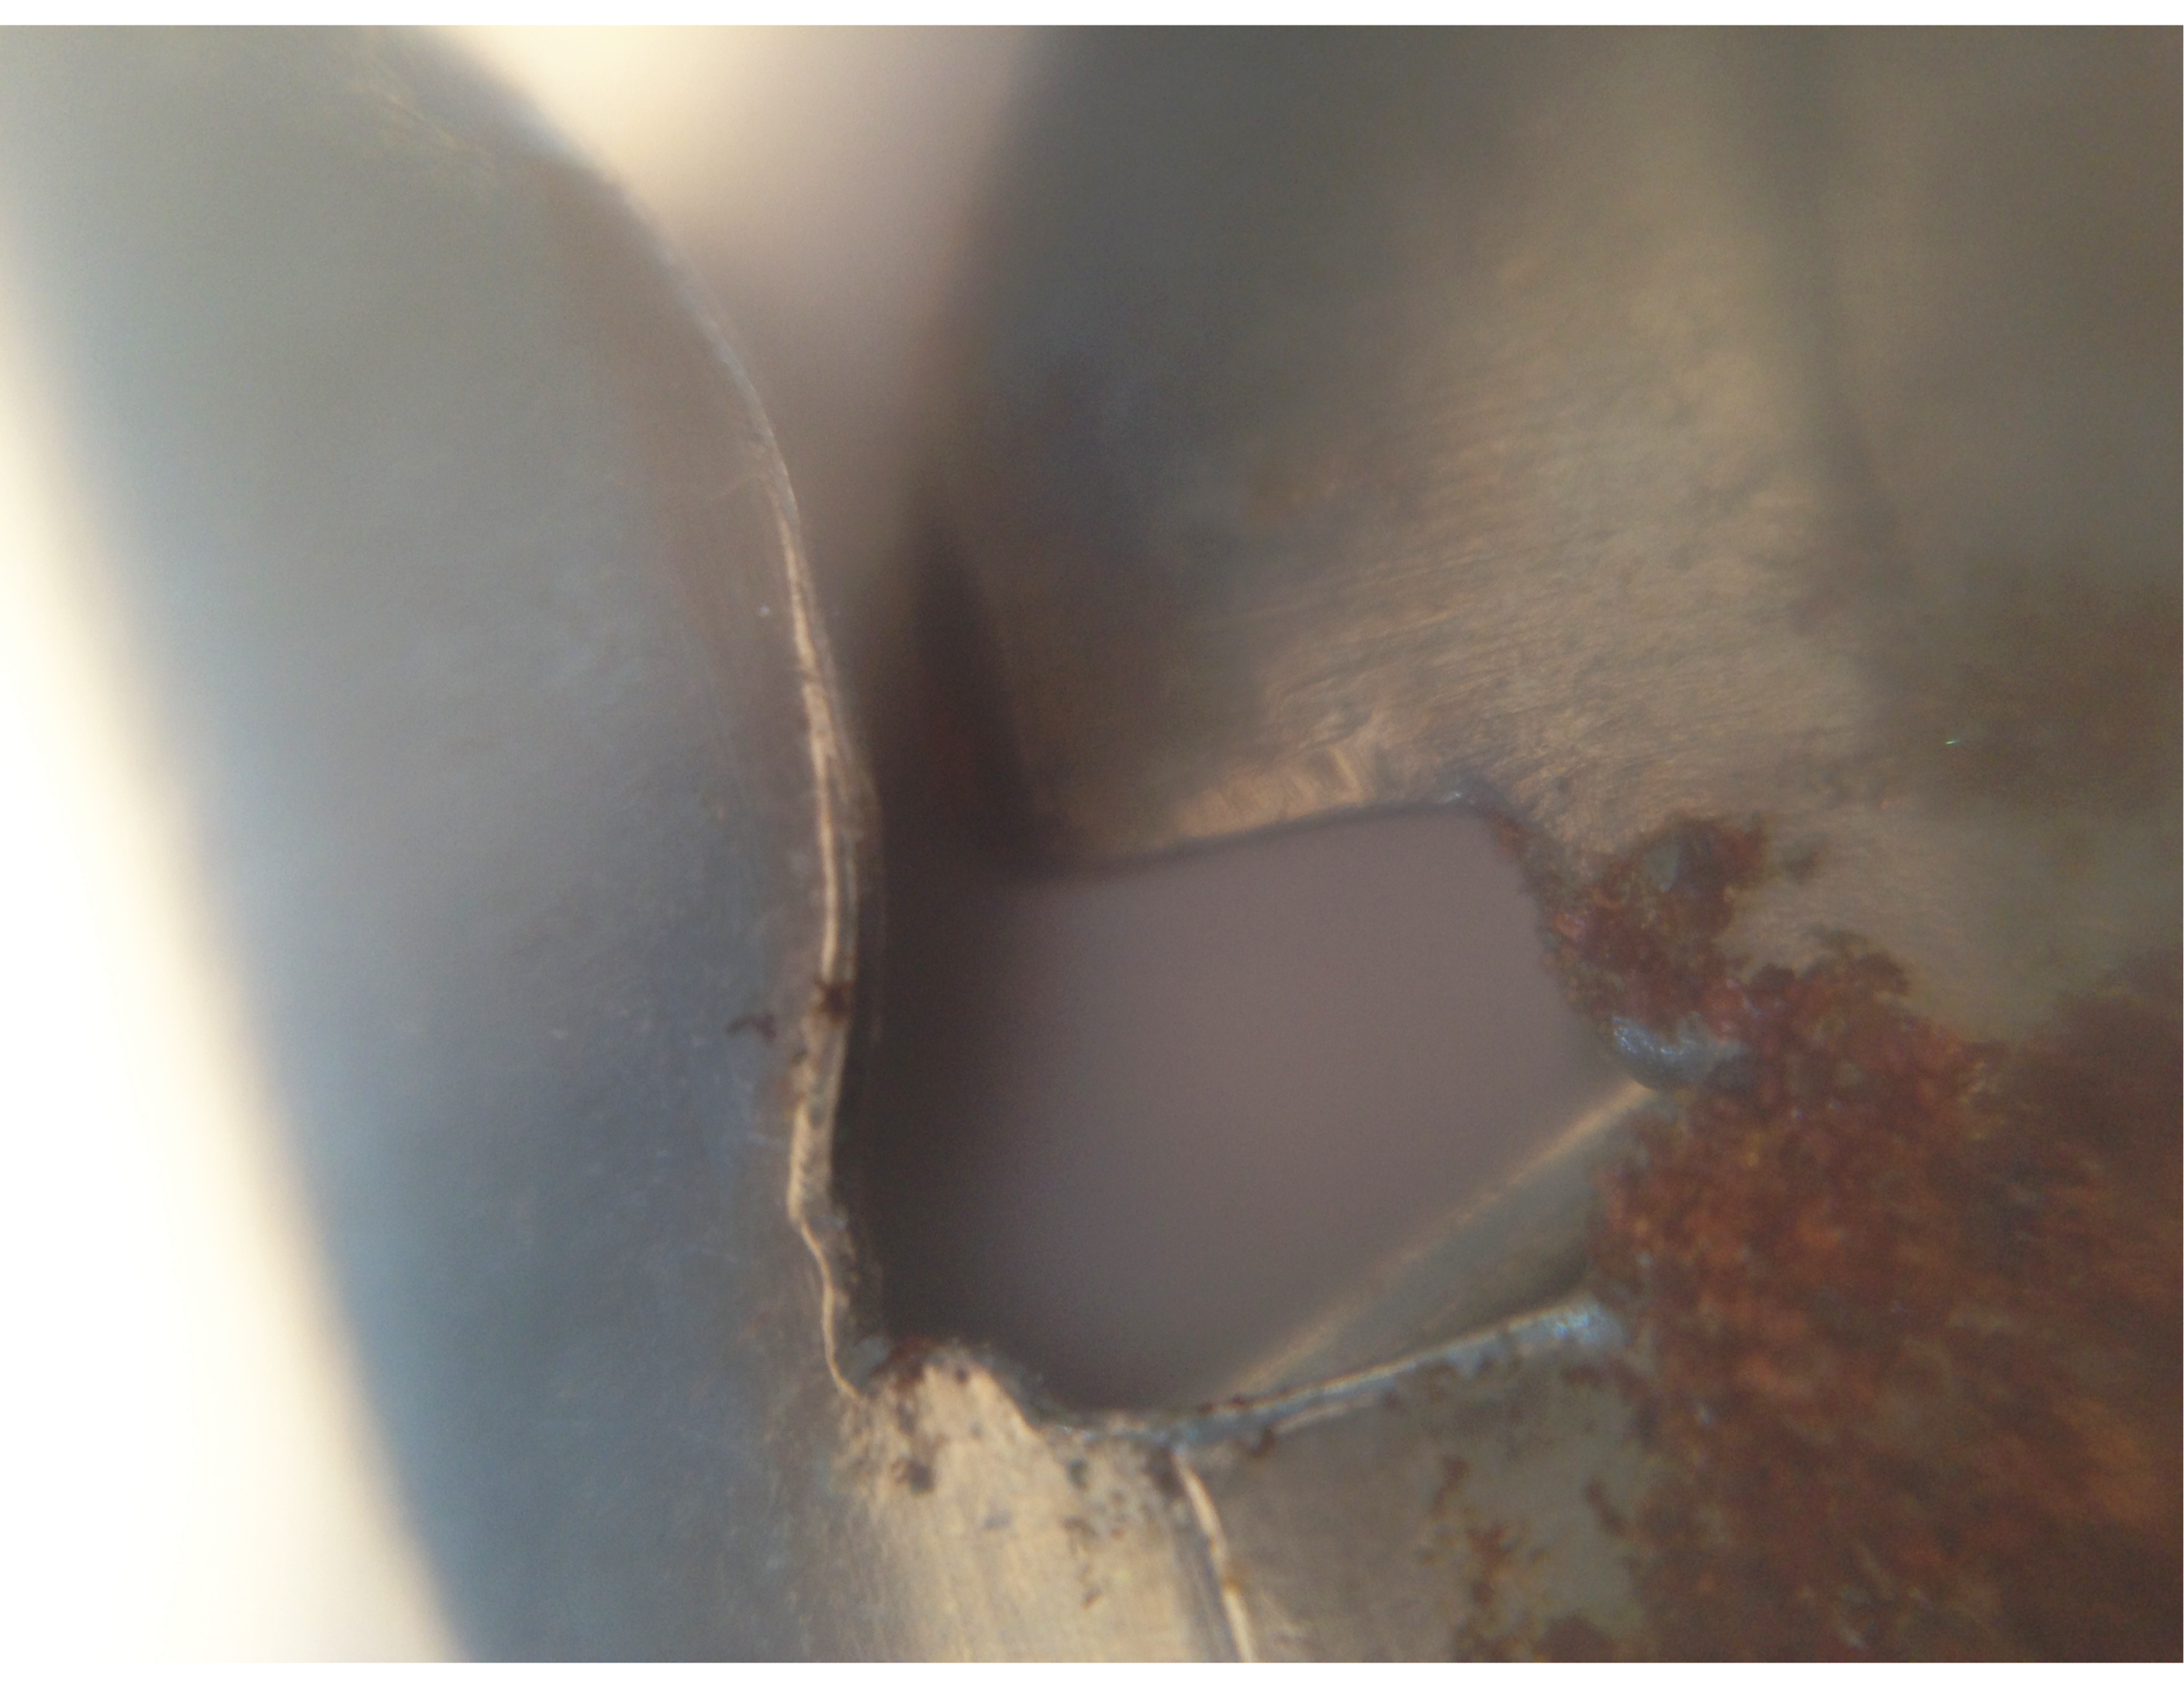
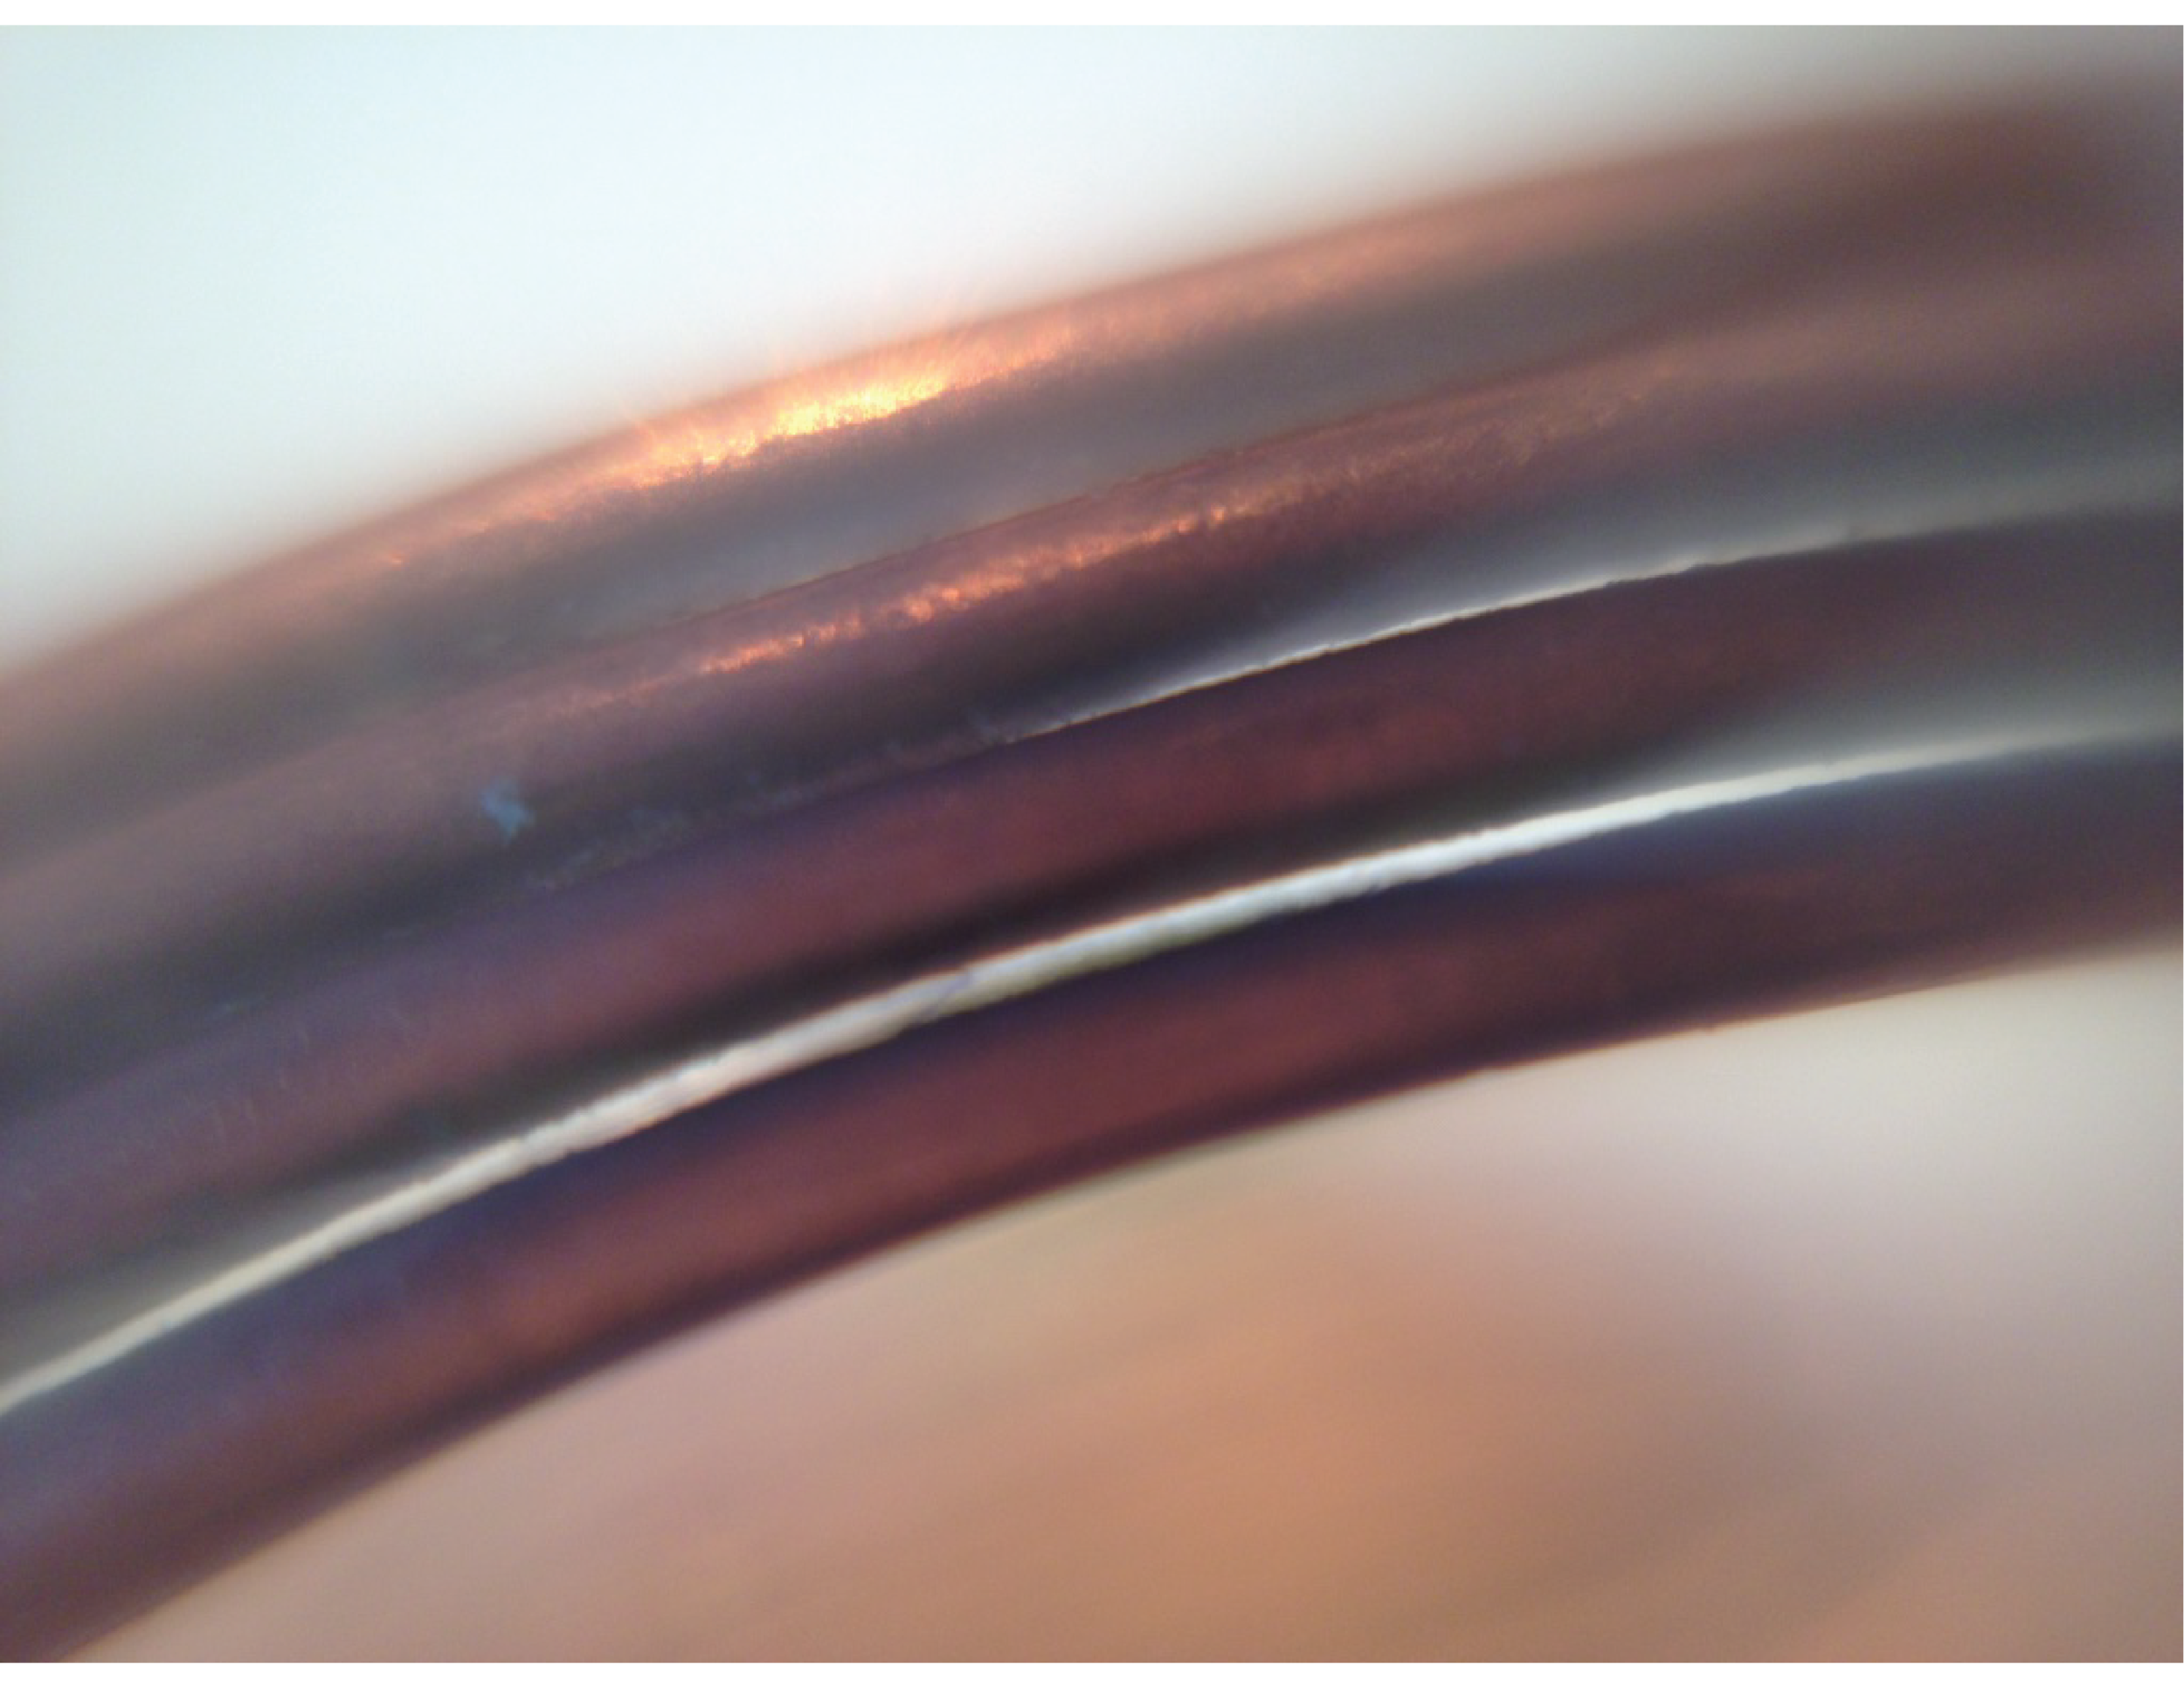
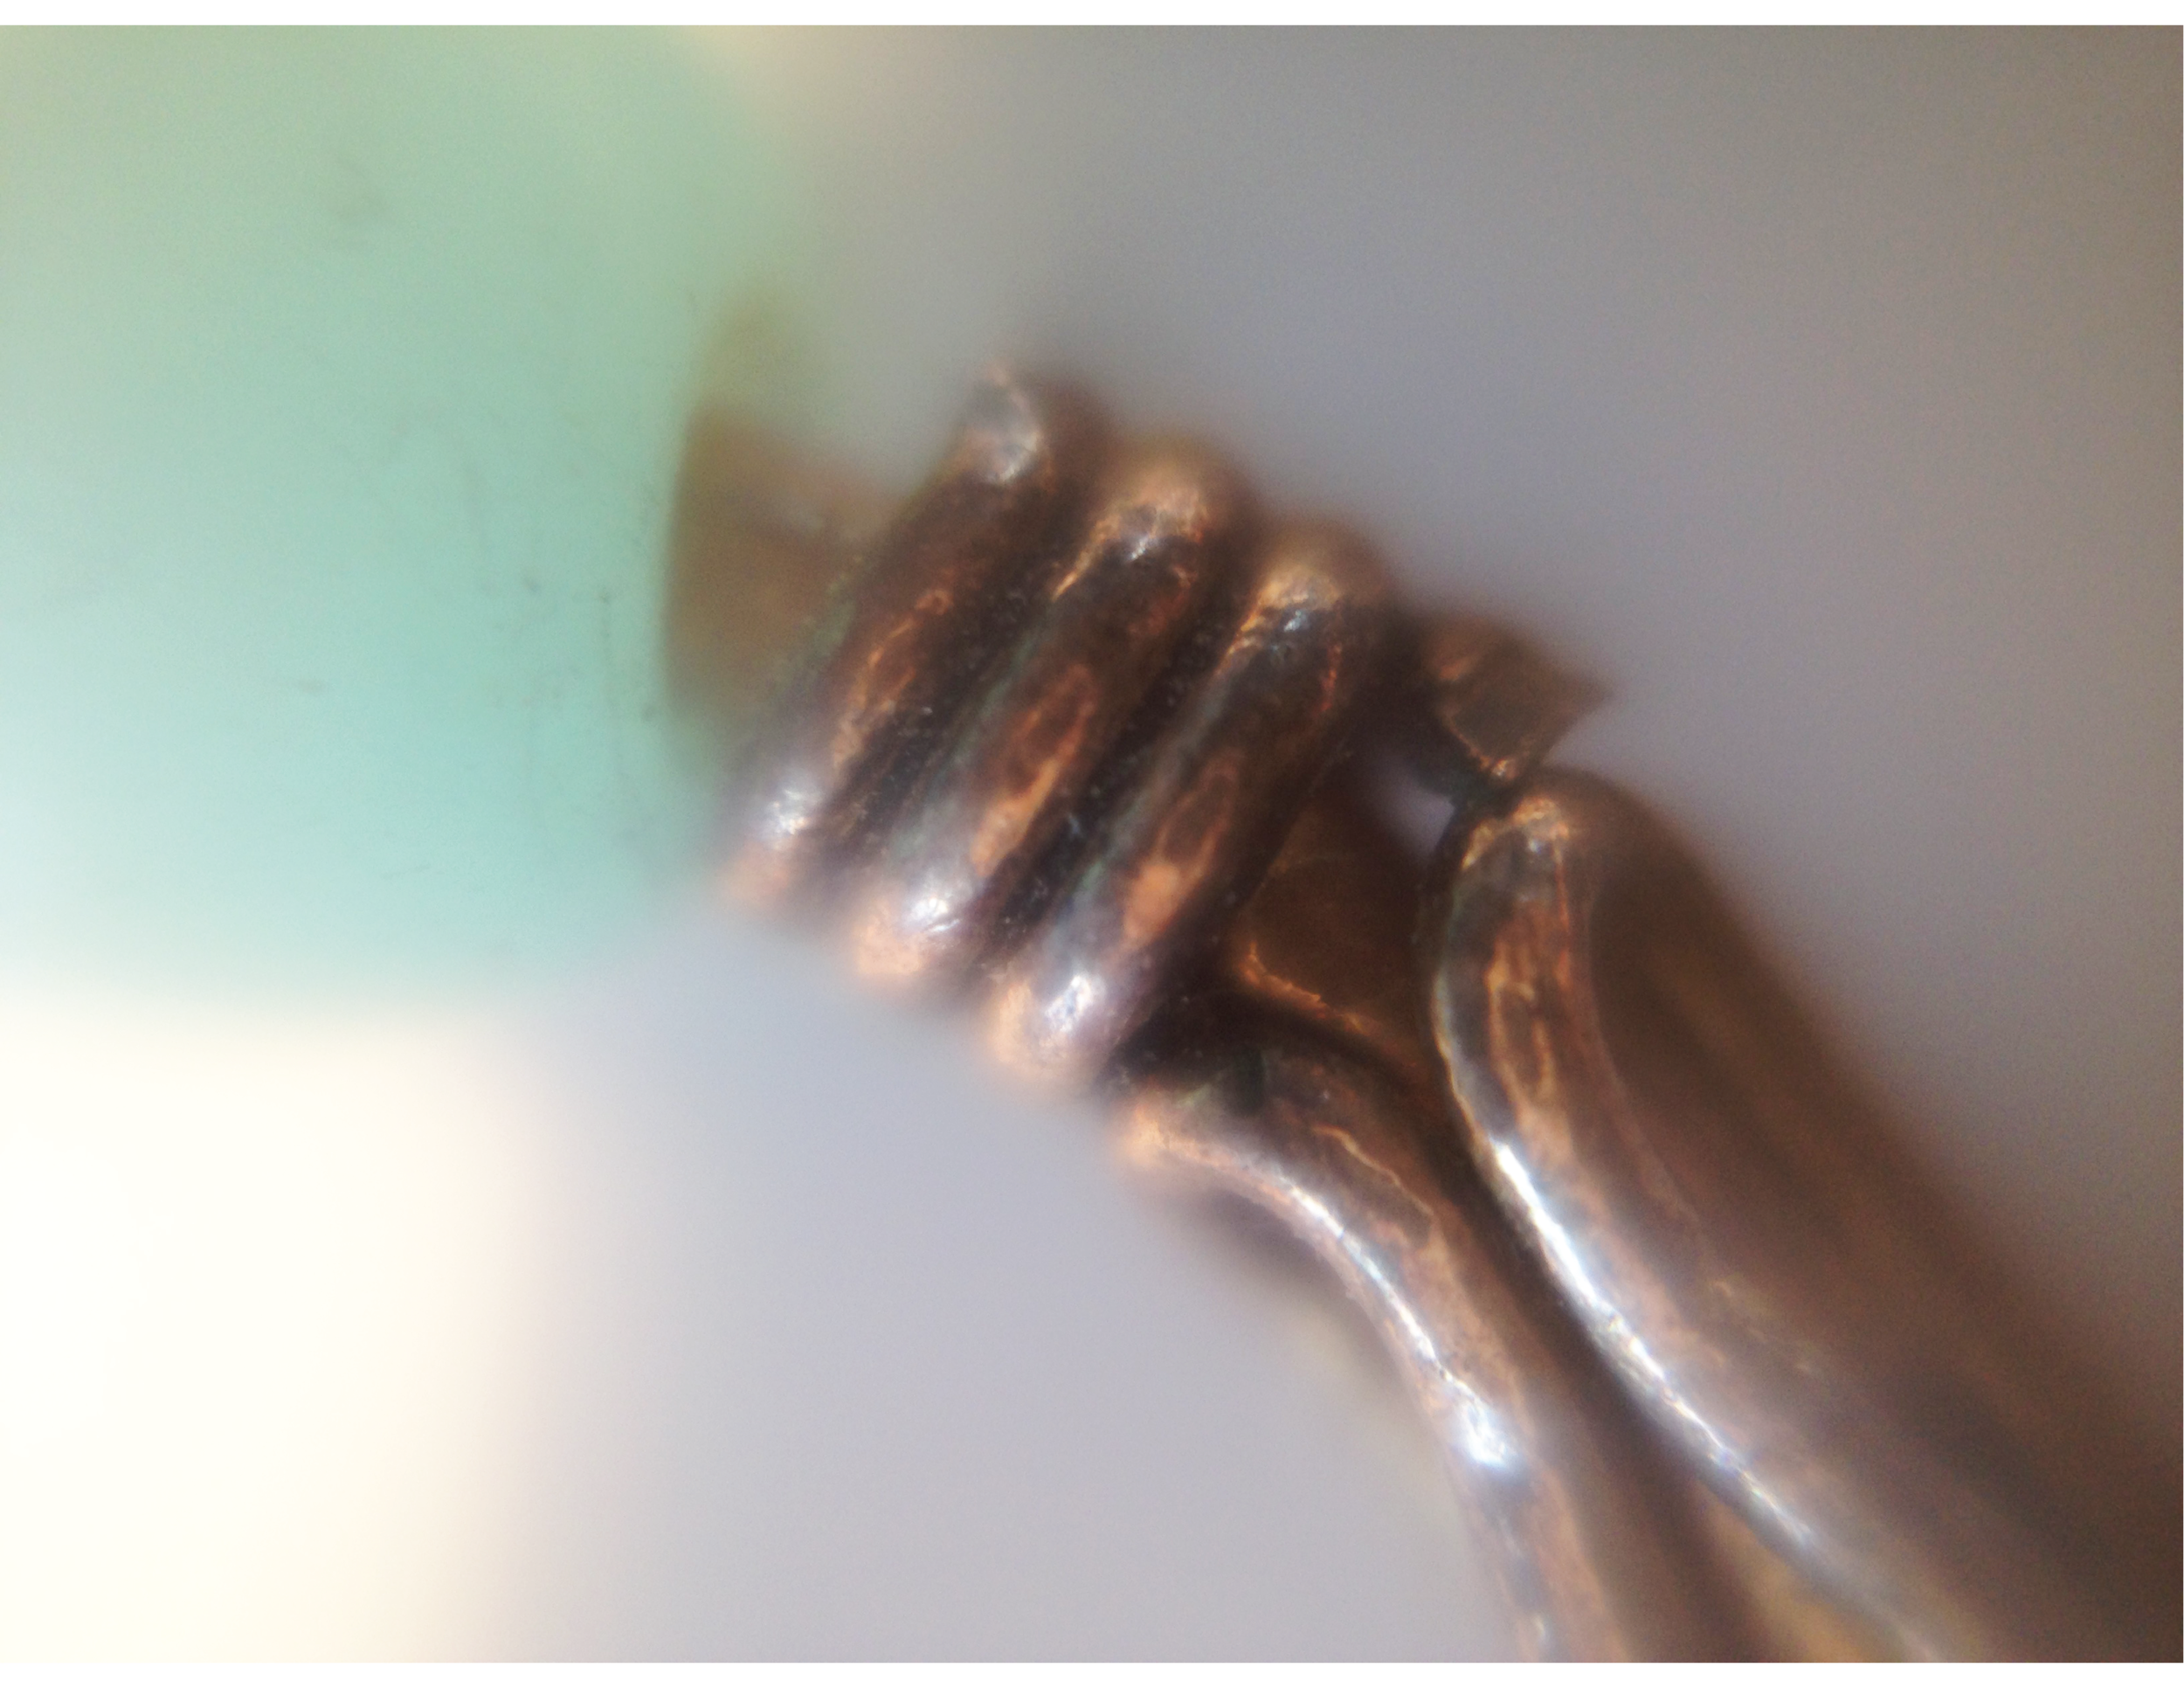
During this phase, I gathered lots of things from my house and studio, and began to look at sections of them under the microscope. This phase of the project was very interesting to me, as I was able to develop a newfound understanding of what each of these objects was, how it was manufactured, and how much detail went into it. I eventually chose the safety pin head as my object to model; it had the most interesting form and did not rely on color as its most distinguishing feature.
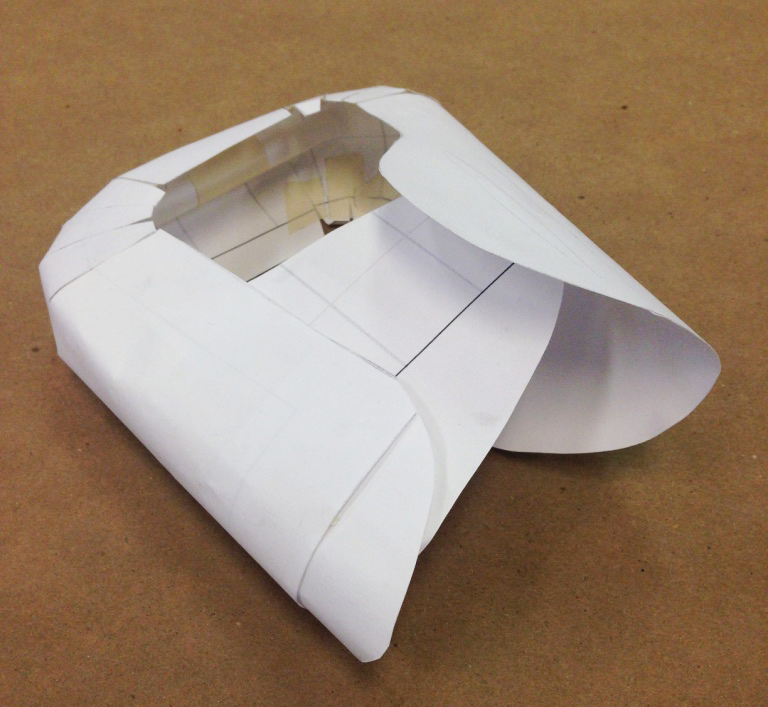
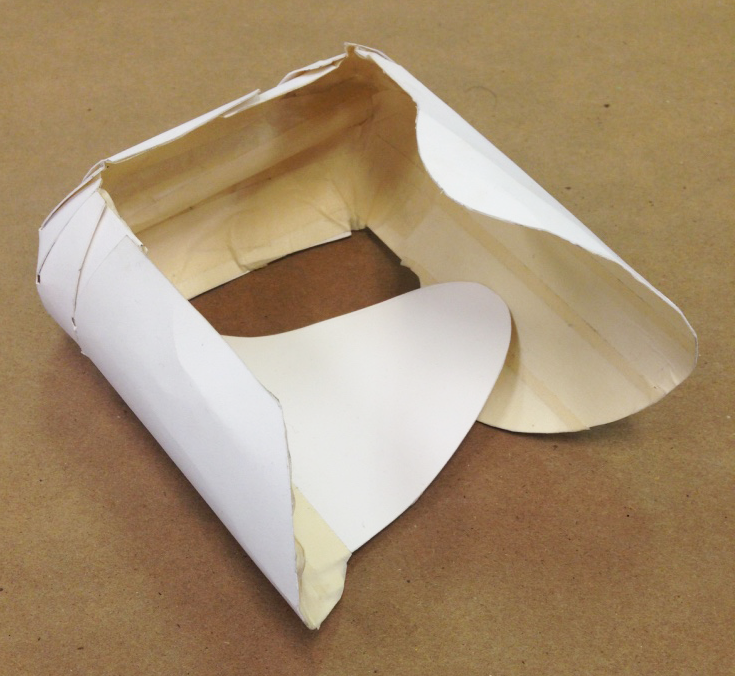
Phase 3: Modeling the Safety Pin Head at Hand-held Scale (10 to 1)
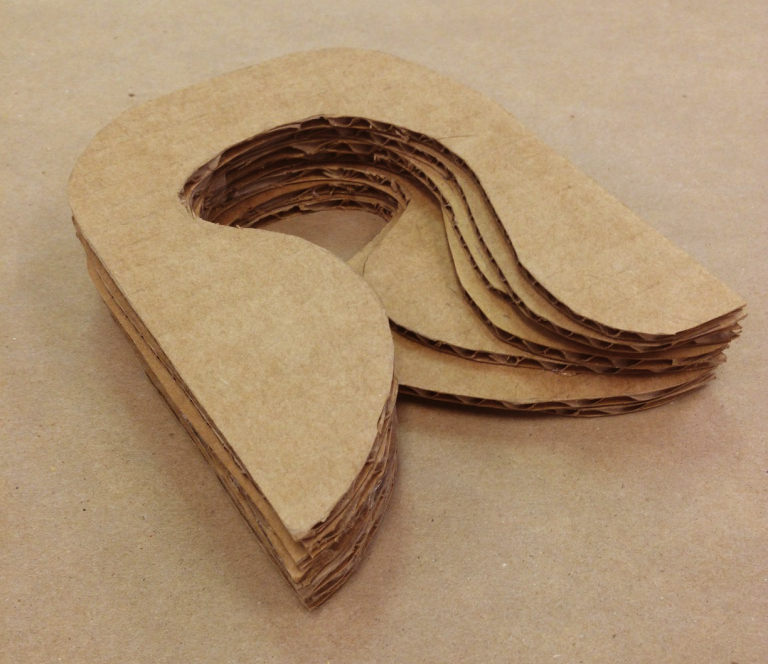
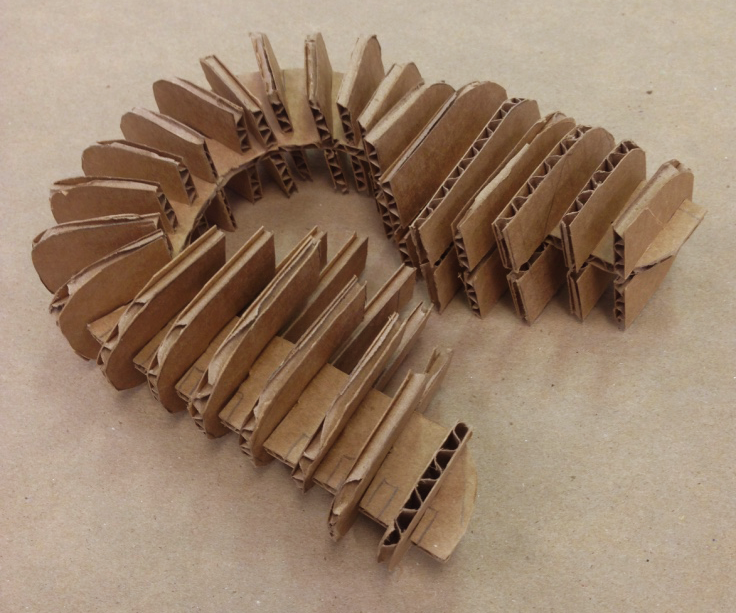
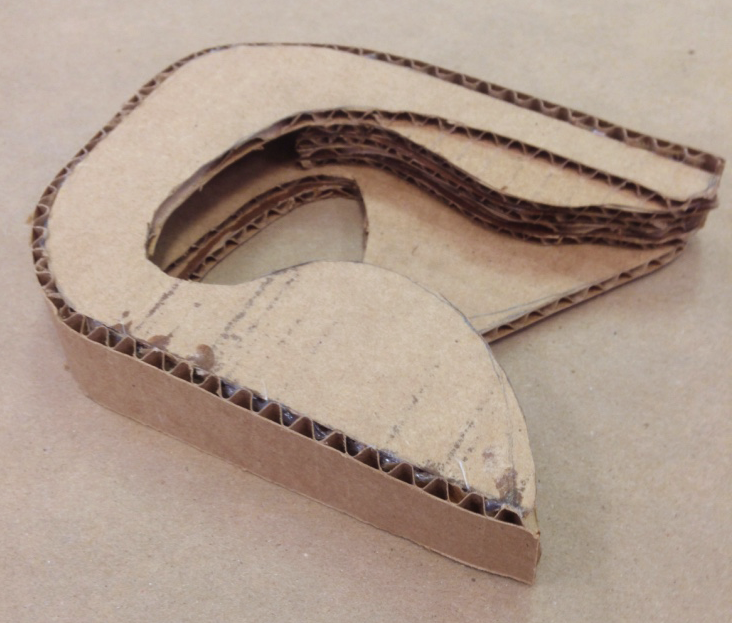
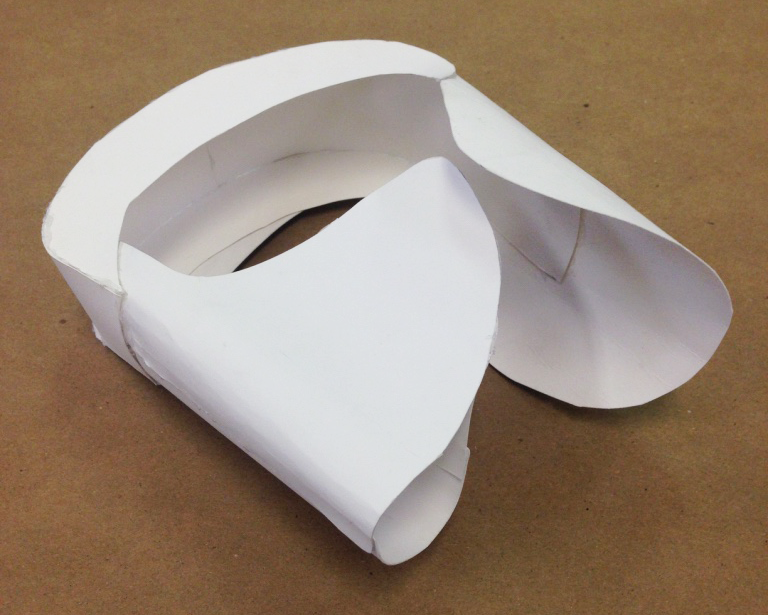
Experimenting with materials, abstraction, and technique were some of the most interesting and important components of this stage. Iterating on the hand-held size model of the safety pin head forced me to consider how close in appearance and quality I should represent the form and when an element is not true enough to the original form, as these judgements will change as the scale of the modeled object changes.
Modeling "Pea Sized" Scale Digitally
While working on the hand held model, I rendered the safety pin head on SketchUp and later on SolidWorks, so that it could later be 3D printed. This model represents the 1:1 scale model, and is depicted in the final prototype images below.
Sketching + Iterating
Throughout the model making process I worked in my sketchbook for calculations, possible construction techniques, etc. This helped me to visualize the larger scale model before constructing, so as to not waste material and money.
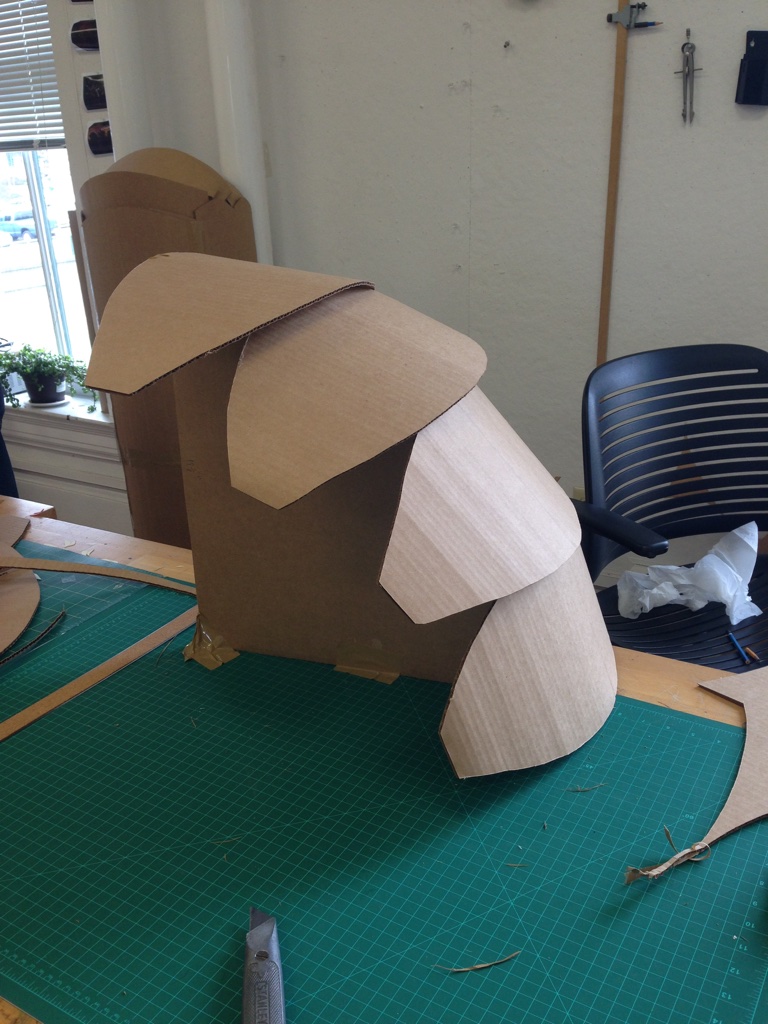
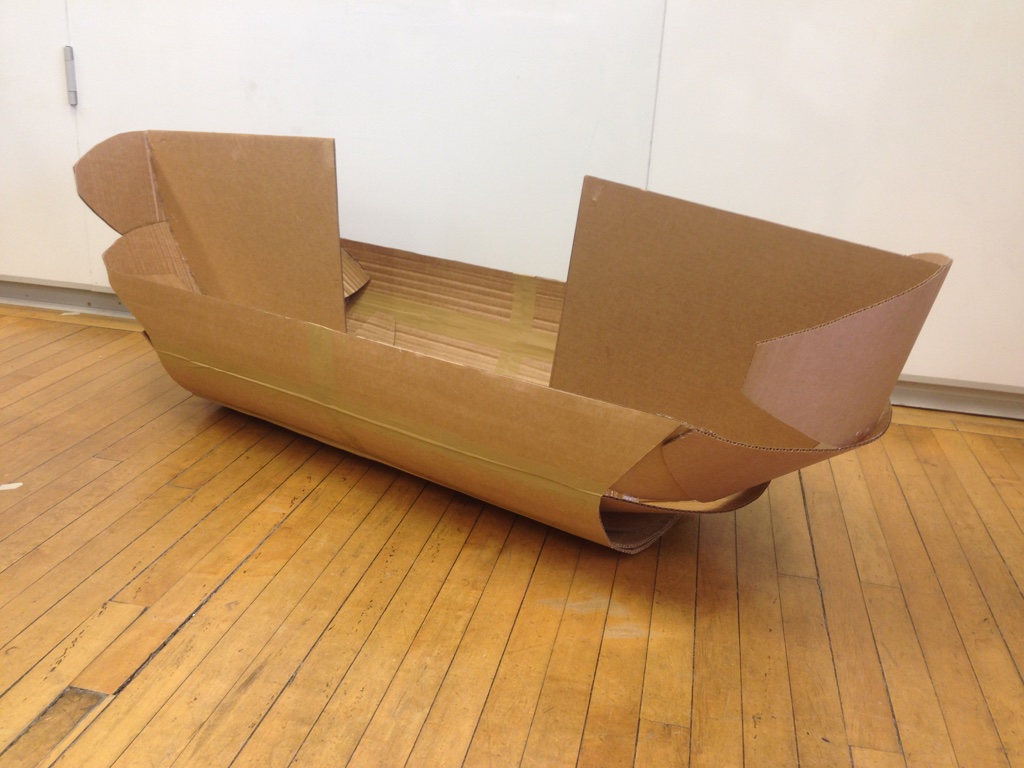
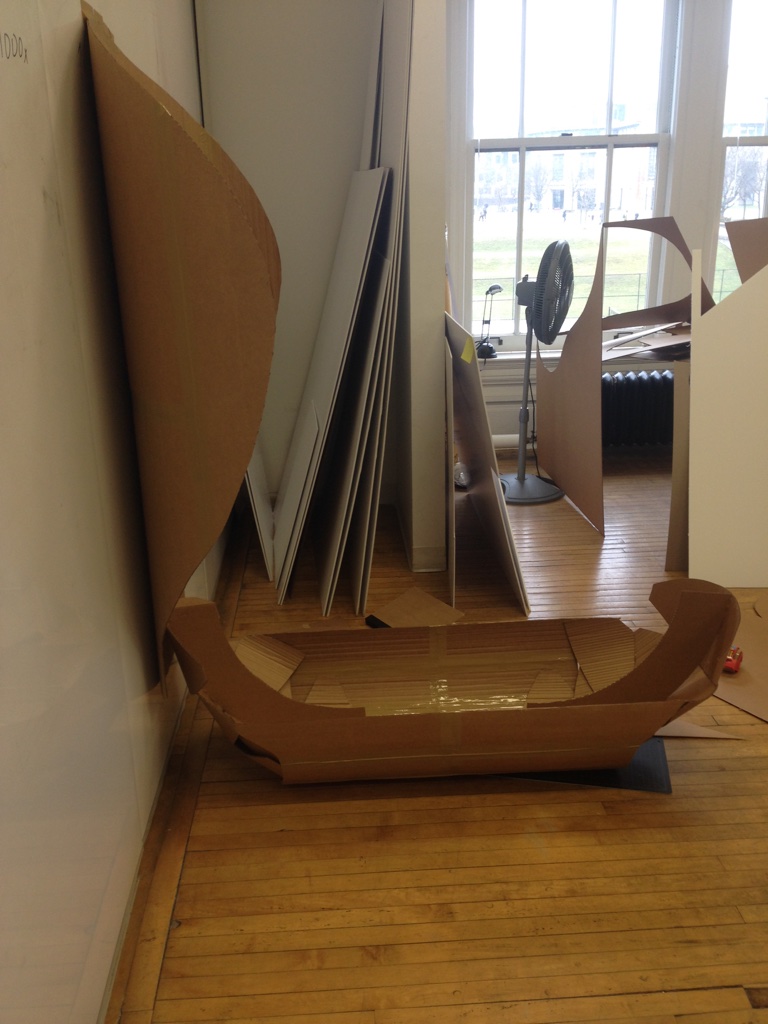
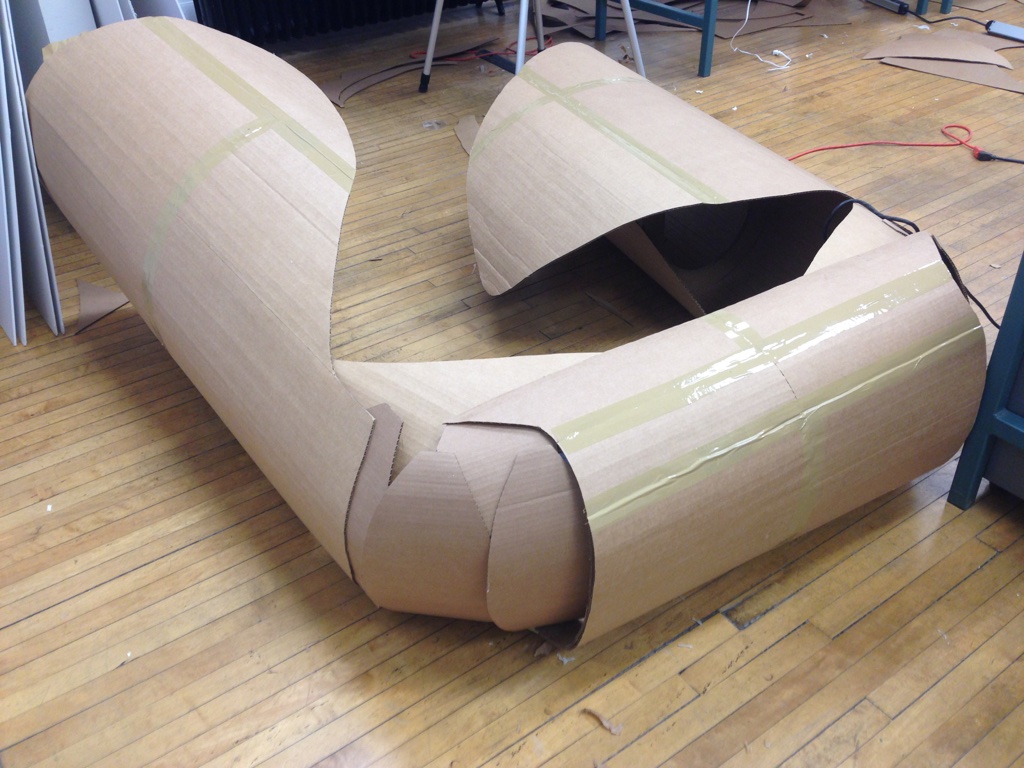
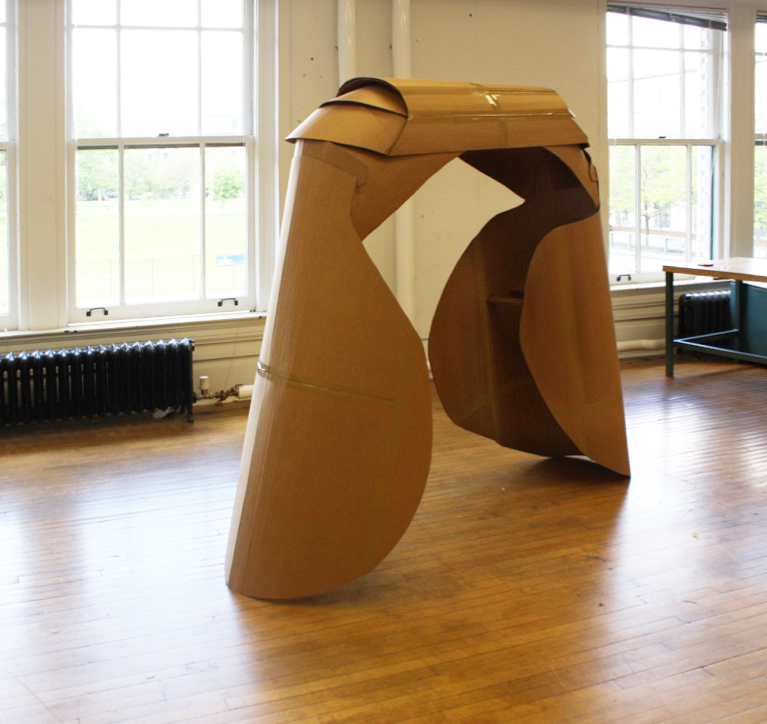
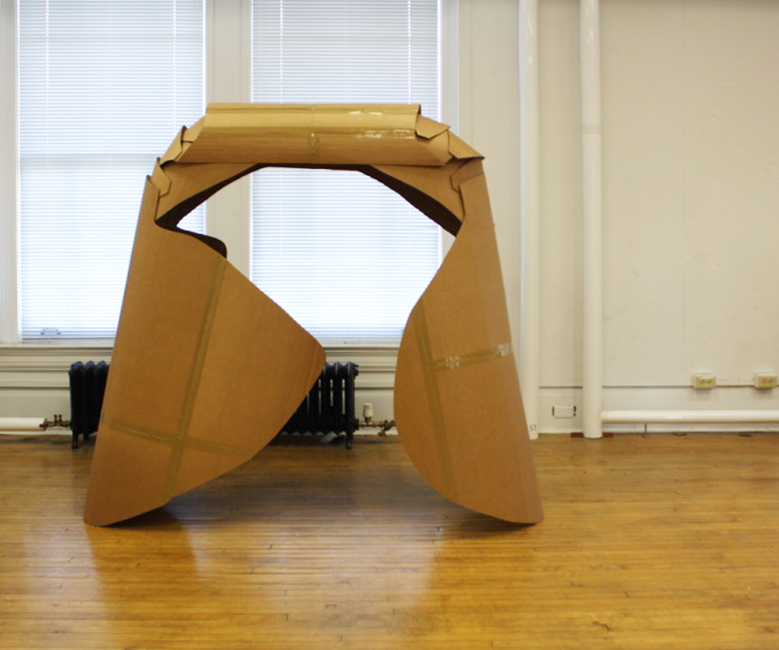
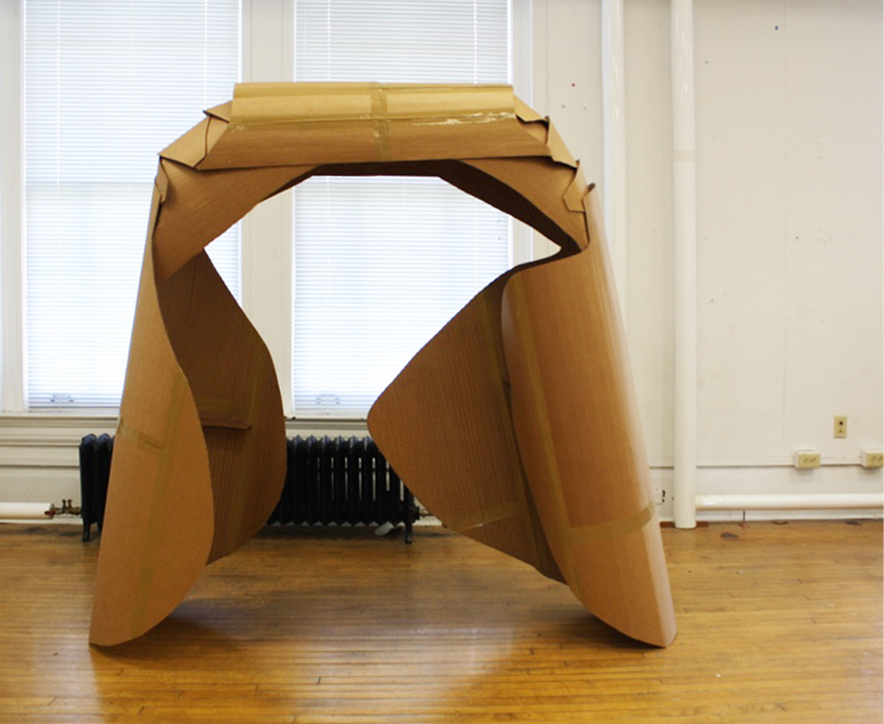
Phase 4: Modeling at “Fiat” Scale (100 to 1)
One of the biggest challenges I experienced during this project was finding ways of dealing with the curves of the safety pin head. I experimented with many different techniques and found several that had the potential to create the form I was intending. I worked with circular forms to help create the curves of the top, and iterated on it many times before finding a shape that truly embodied the essence of the curve.
Final 100 to 1 Scale Model
Materials used include corrugated cardboard and packaging tape
Phase 5: Modeling at “Blimp” Scale (1000 to 1)
To visualize this scale, I created a Photoshop rendered model of the safety pin head and placed it in the context of people as a reference for size. This was a simpler way to understand how the scale of something affects the way people interact with it. One can imagine that someone looking at a safety pin head that is 1:1 scale would handle it with greater care than if it were 1000:1 scale.
Final Prototypes
1 to 1, 10 to 1, and 100 to 1 scale models of the safety pin head.


